Prerequisites
Usage
Before proceeding, please ensure you have the following:
- Hyper-V
- Hyper-V Manager
- LoginTC RADIUS Connector Hyper-V disk image (VHD)
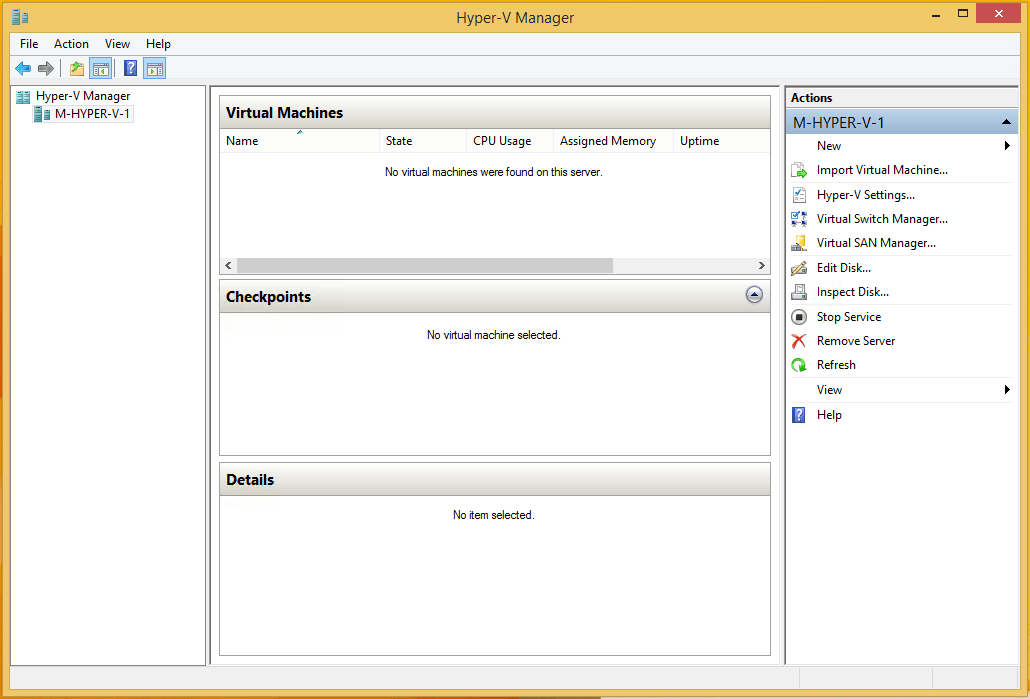
- Open the Hyper-V Manager
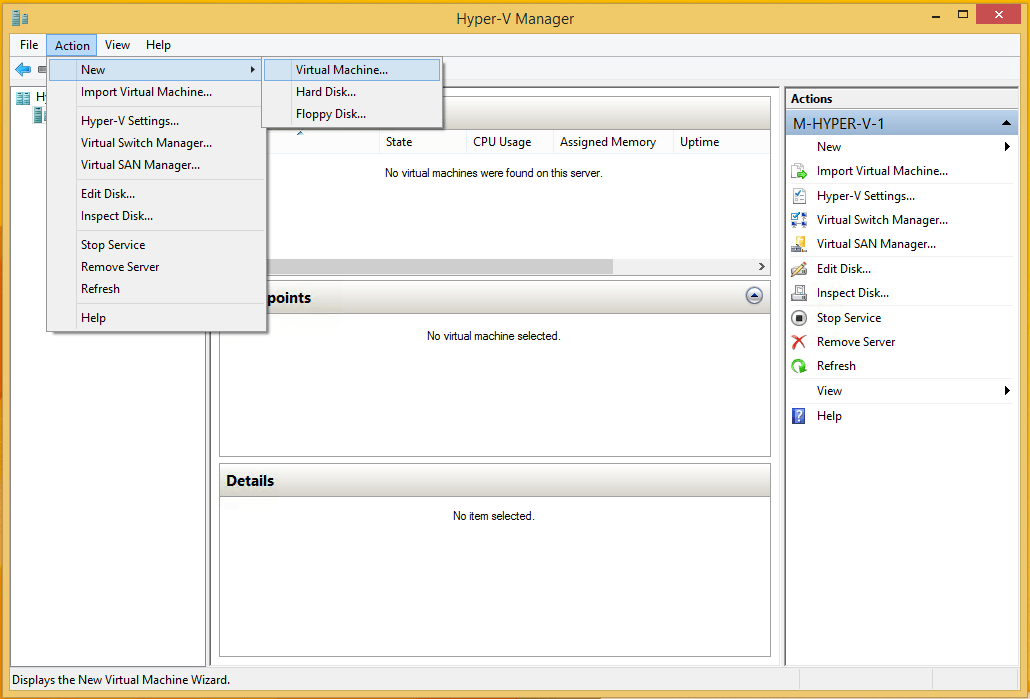
- Click on the Action → New → Virtual Machine… menu option
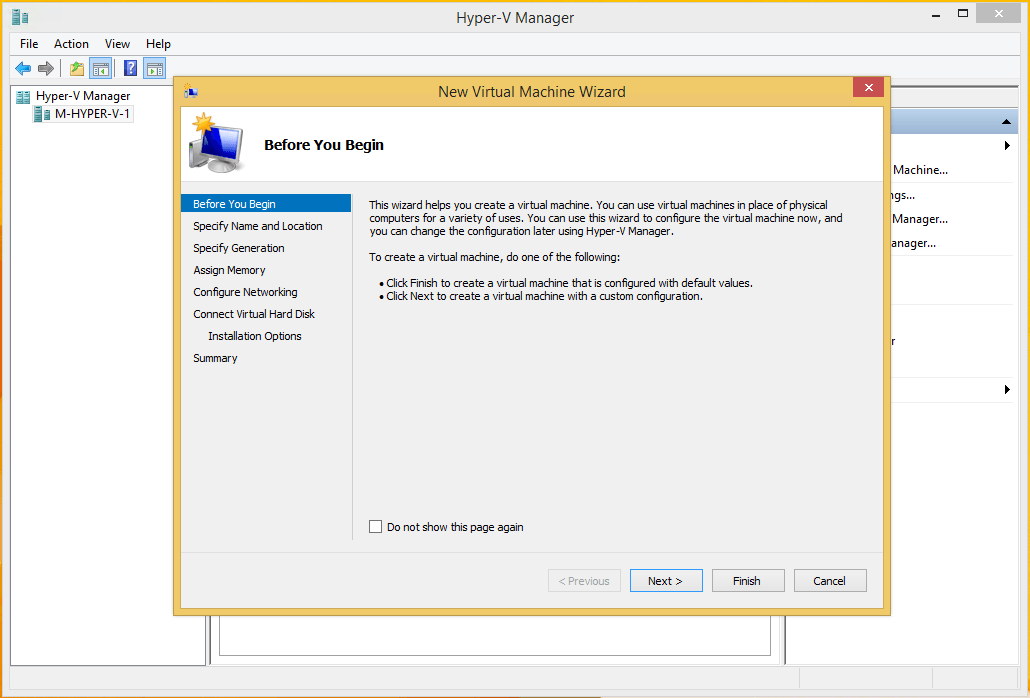
- Press Next
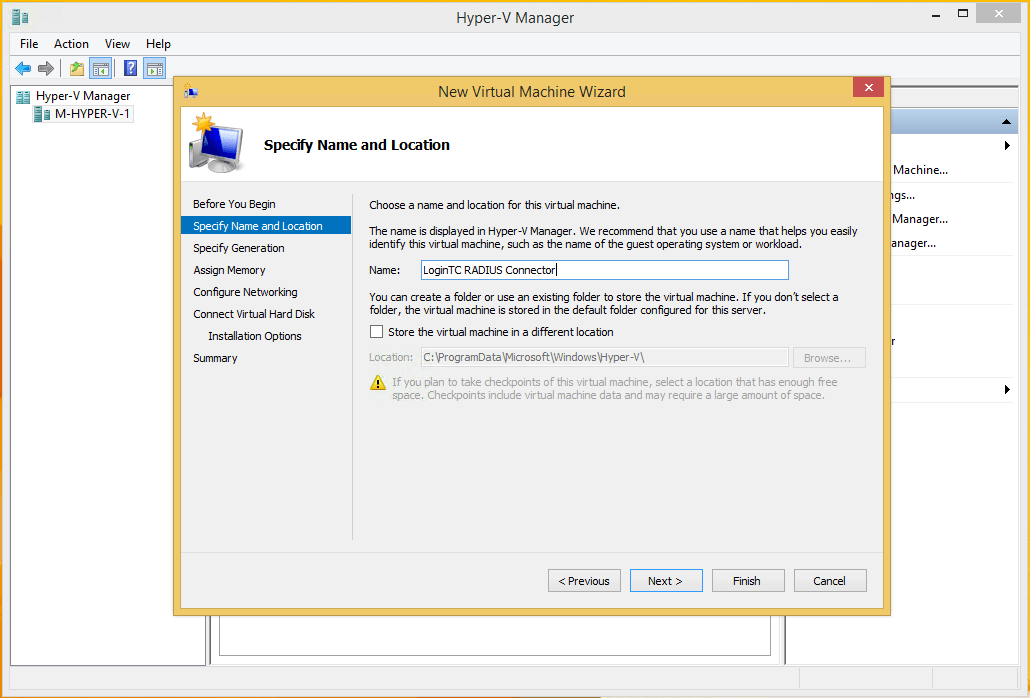
- Type LoginTC RADIUS Connector for the Name
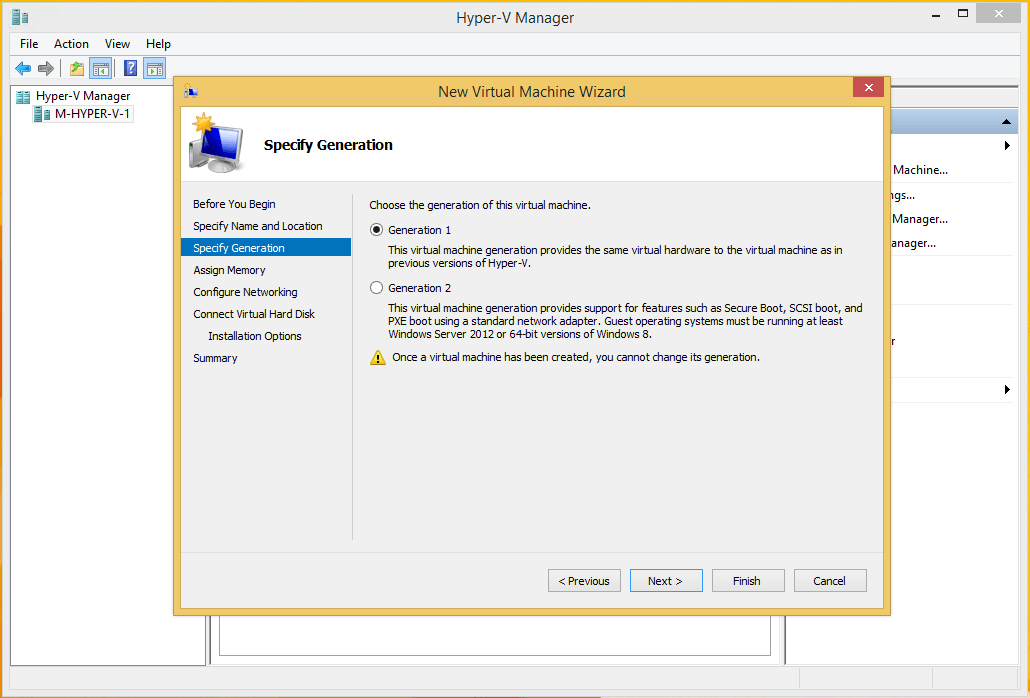
- Select Generation 1
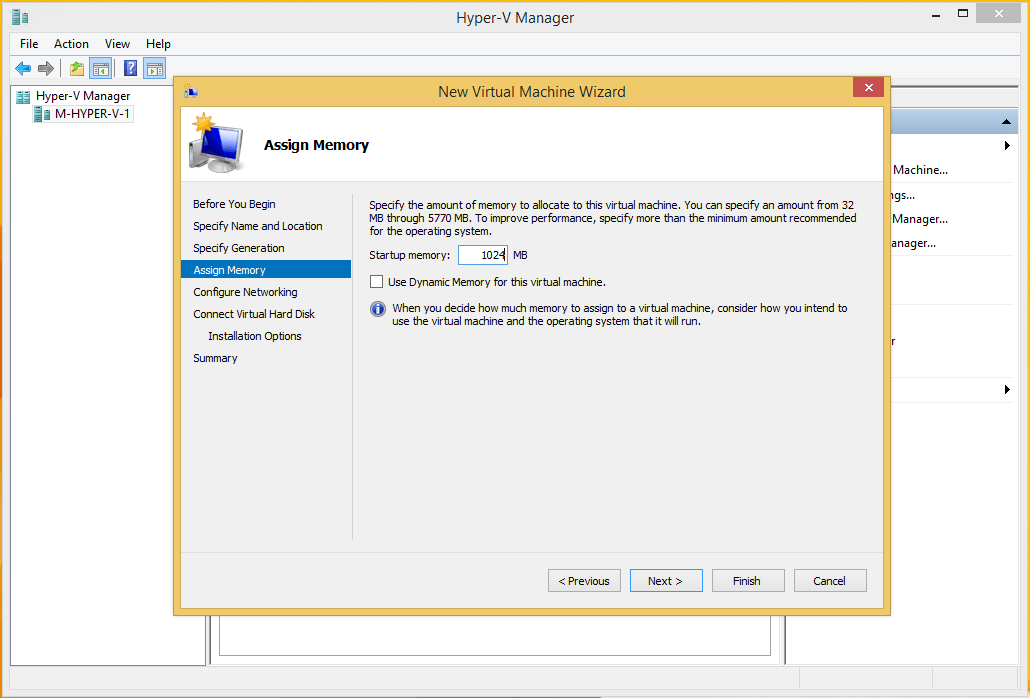
- Assign 1024 MB for Startup memory
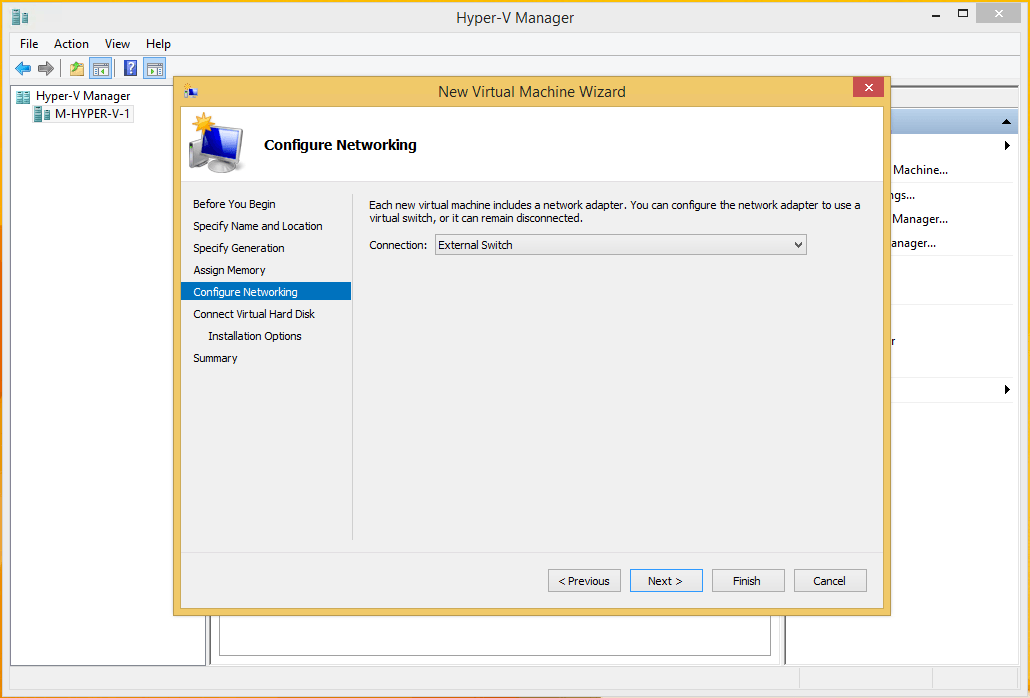
- Select a network connection
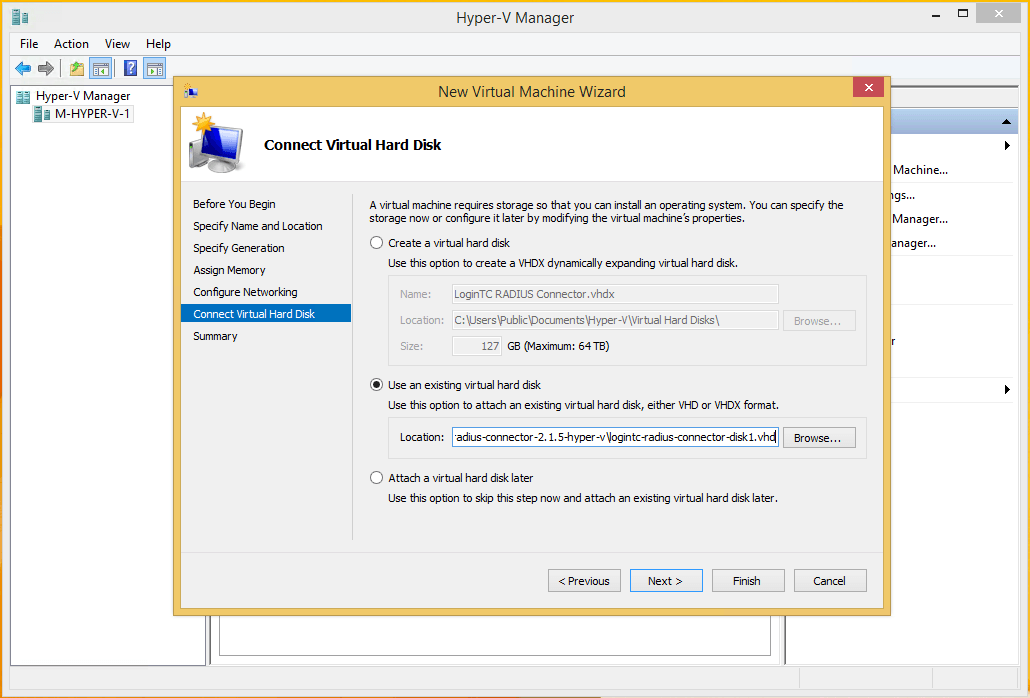
- Select Use an existing virtual hard disk and browse to the downloaded VHD file

- Review your VM settings and press Finish
Static MAC Address
MAC Address must be set to Static
In order to avoid re-assignment of MAC Addresses to the appliance while running in Hyper-V, ensure that the MAC Address is set to Static.
Step by step:
- First determine a MAC Address which will not conflict with other MAC Addresses Hyper-V may use. Under the
Hyper-V Virtual Switch MangercheckGlobal Network Settings. There will be aMAC Address Range. Pick a static MAC Address which does not fall within this range and will not conflict with any other virtual appliances now or in the future. - Power off the Connector virtual appliance.
- Under the appliance
Hyper V Settings>Network Adapter>Advanced Features. Set theMAC AddresstoStaticand ensure it equals the address you’ve selected in Step 1. ClickApplyandOKand Start the Connector virtual appliance.
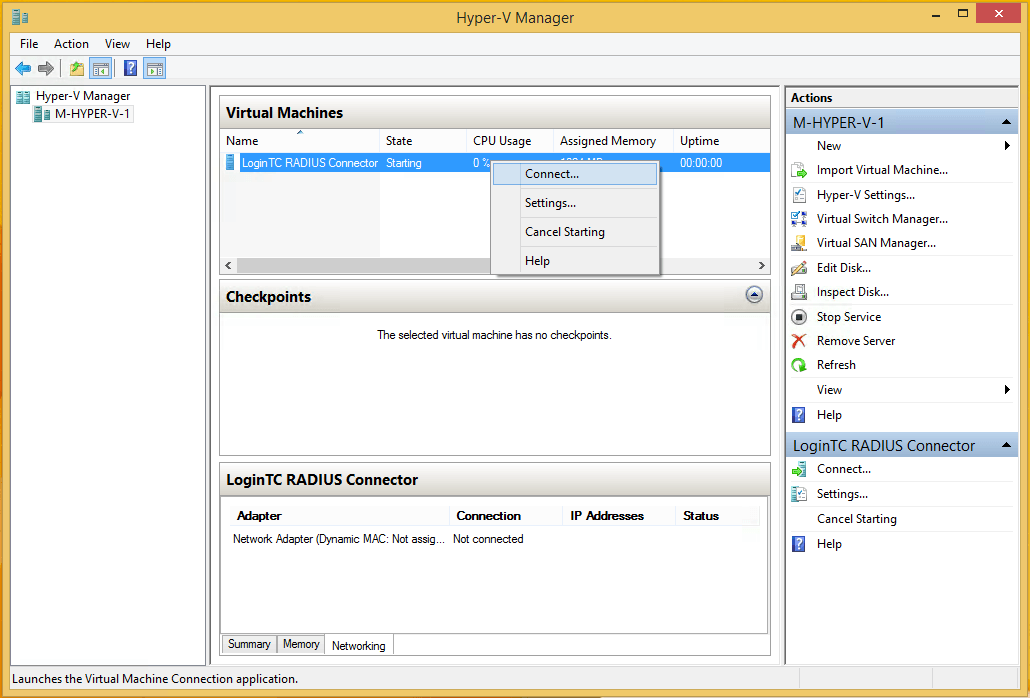
- Right click on the LoginTC RADIUS Connector appliance and press the Start menu option to start the appliance
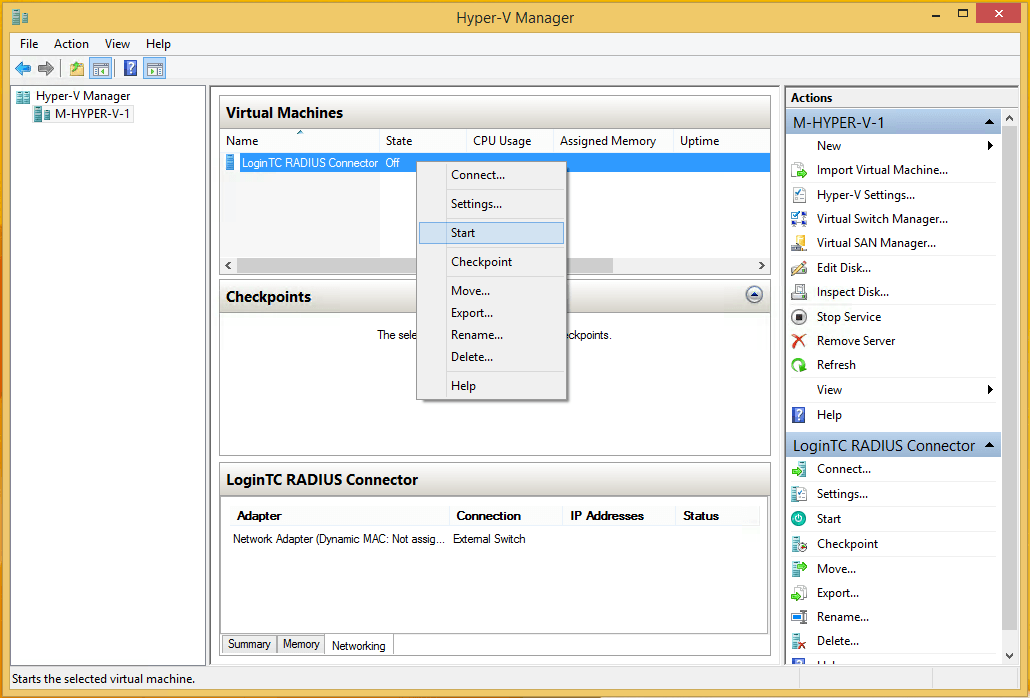
- Right click on the LoginTC RADIUS Connector appliance and press the Connect… menu option
- You may now proceed with configuring the LoginTC RADIUS Connector