Last Updated: March 27, 2025
The LoginTC OWA Connector protects access to your Microsoft Outlook Web App by adding a second factor LoginTC challenge to existing username and password authentication.
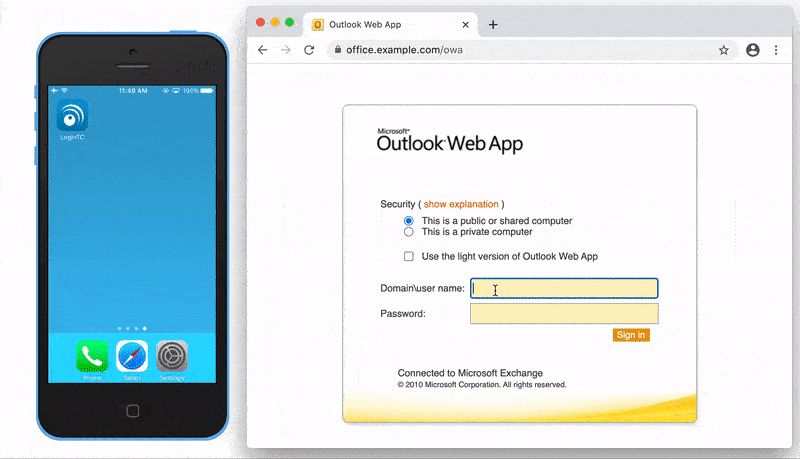
Explore how LoginTC can add MFA to your Microsoft Outlook Web App (OWA) below.
Subscription Requirement
Your organization requires the Business or Enterprise plan to use the LoginTC OWA Connector. Explore Pricing Plans
After entering the username and password into the Outlook Web App login, the user is shown a selection of second factor options. The user clicks a button to receive a LoginTC push notification, authenticates and is logged in.
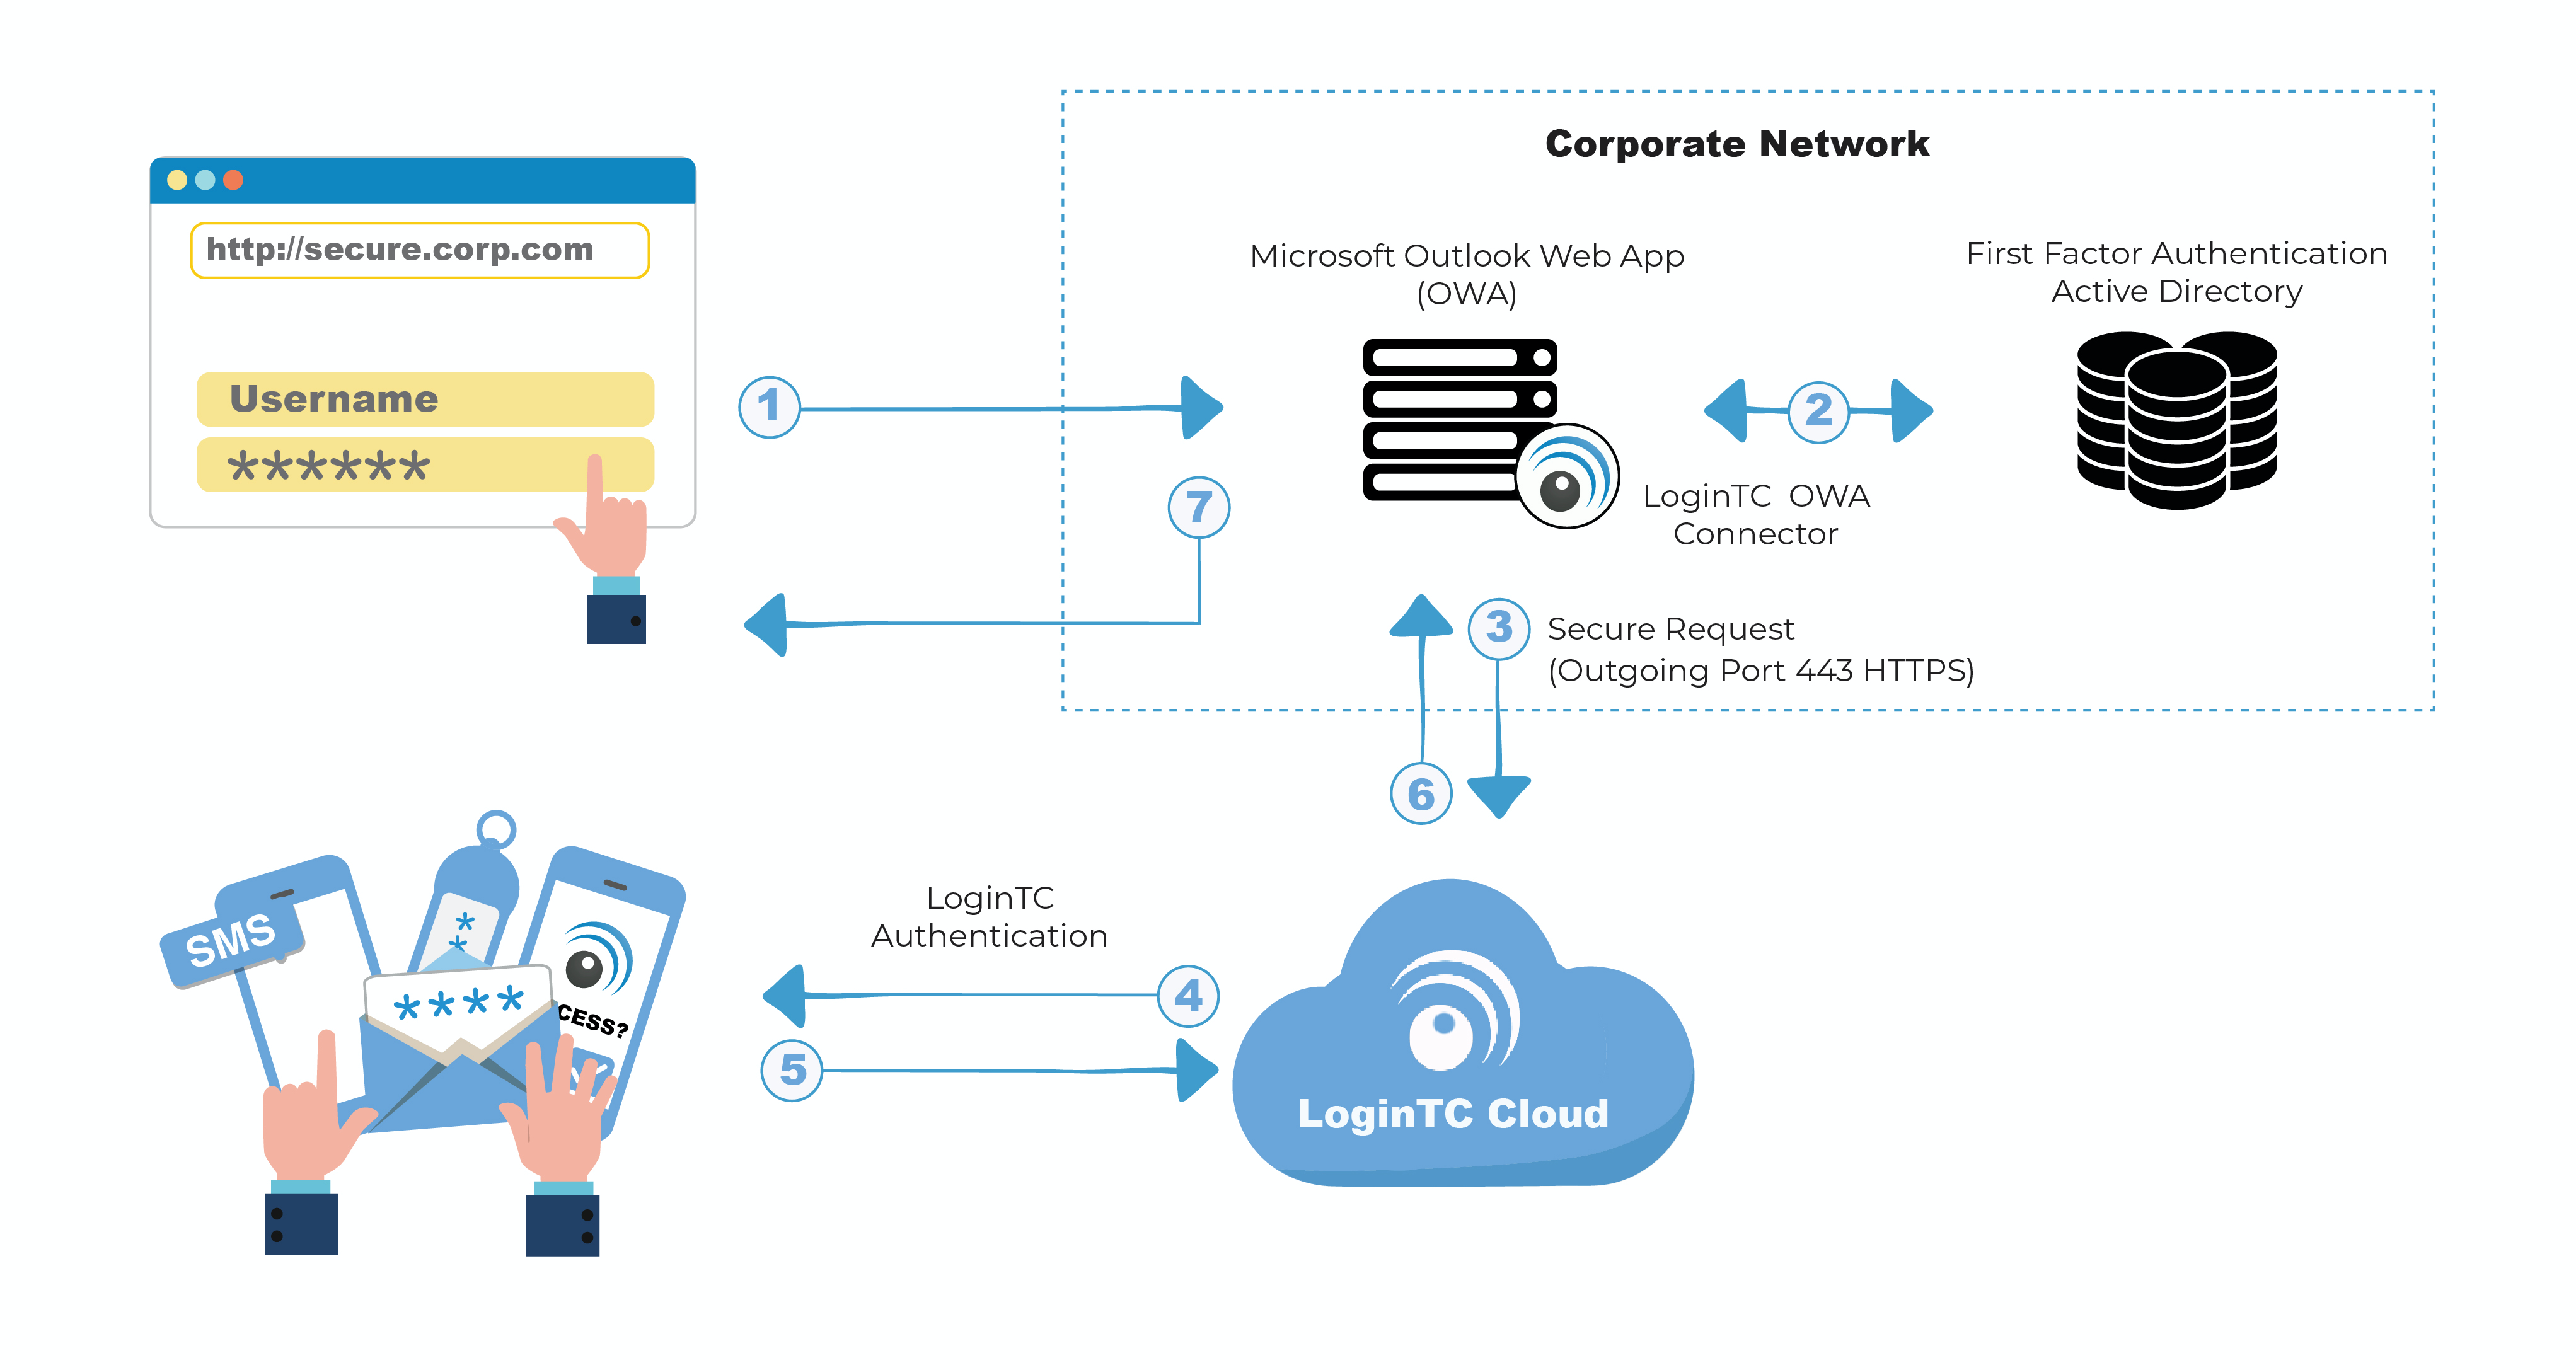
Authentication Flow
- A user attempts access to OWA with username / password
- The username / password is verified against an existing first factor directory (i.e. Active Directory)
- The request is trapped by LoginTC OWA Connector and an authentication request is made to LoginTC Cloud Services
- Secure push notification request sent to the user’s mobile or desktop device
- User response (approval or denial of request) sent to LoginTC Cloud Services
- The LoginTC OWA Connector validates the user response
- User is granted access to OWA
ActiveSync and Outlook App Access
The LoginTC OWA Connector adds a two-factor authentication prompt to Outlook on the web (formerly Outlook Web App). The LoginTC OWA Connector does not have any impact on ActiveSync, Outlook App authentication or other Exchange mail protocols such as POP3 and IMAP. In most cases, these other protocols should be either disabled or protected in another way to ensure that all access to your Exchange is protected with two-factor authentication.
See the LoginTC OWA Connector ActiveSync and Outlook App Access knowledge base article for more information.
Prefer Reading a PDF?
Download a PDF file with configuration instructions:
Before proceeding, please ensure you have the following:
- LoginTC Admin Panel account
- Microsoft Windows Server 2012 R2, Windows Server 2016, Windows Server 2019 or Windows Server 2022
- Exchange 2010, Exchange 2013, Exchange 2016 or Exchange 2019
- .NET Framework 4.5.1 or higher
Working OWA Deployment
It is strongly recommended that you have a working and tested Outlook Web App deployment prior to adding LoginTC authentication.
Start by creating a LoginTC Application for your deployment. An Application represents a service (e.g. An application is a service (e.g., VPN or web application) that you want to protect. e) that you want to protect with LoginTC.
Create a LoginTC Application in LoginTC Admin Panel, follow Create Application Steps.
If you have already created a LoginTC Application for your deployment, then you may skip this section and proceed to Installation.
[/callout]
Normalize Usernames
Usernames in Outlook Web App are typically in the form “CORP\john.doe”, while in the LoginTC Admin Panel it is generally more convenient to simply use “john.doe”.
Configure Normalize Usernames from the Domain settings by navigating to Domains > Your Domain > Settings.
Select Yes, Normalize Usernames scroll down and click Update.
[/callout]
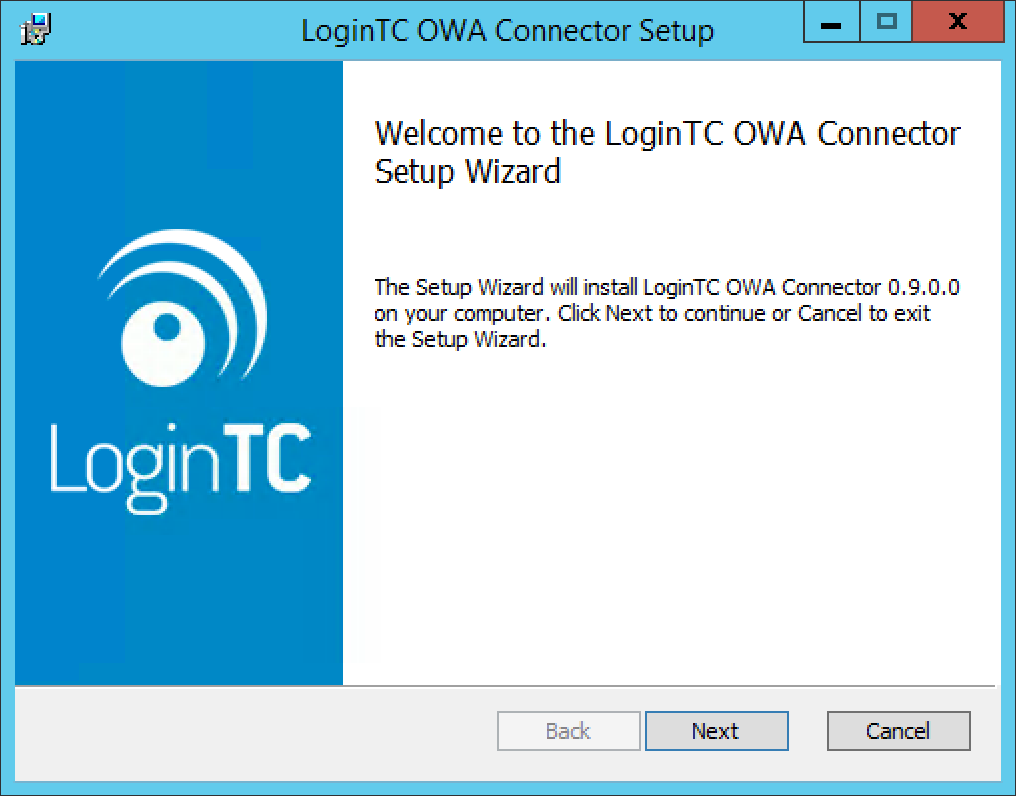
Follow the instructions to install the LoginTC OWA Connector:
IIS service reset
The installer will restart IIS services upon completion and this will impact other dependent services. We recommend performing these actions during a change windows.
- Download the latest version of the LoginTC OWA Connector
- Run the installer file as a privileged administrator user. The user must have permission to configure and restart IIS.
- Press Next.
- Read the License Agreement and press Next if you accept the terms.

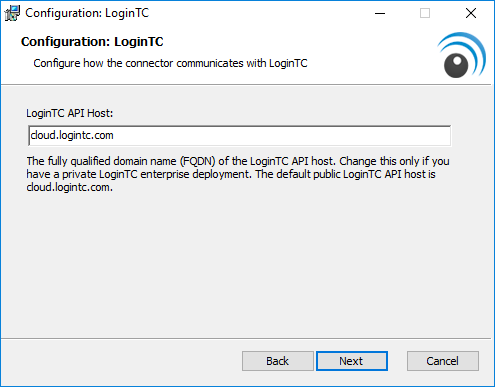
- Change the LoginTC API Host only if you have a private enterprise LoginTC deployment. Press Next:
- Enter your LoginTC Application ID and Application API Key. These values are found on your LoginTC Admin Panel. Press Next.

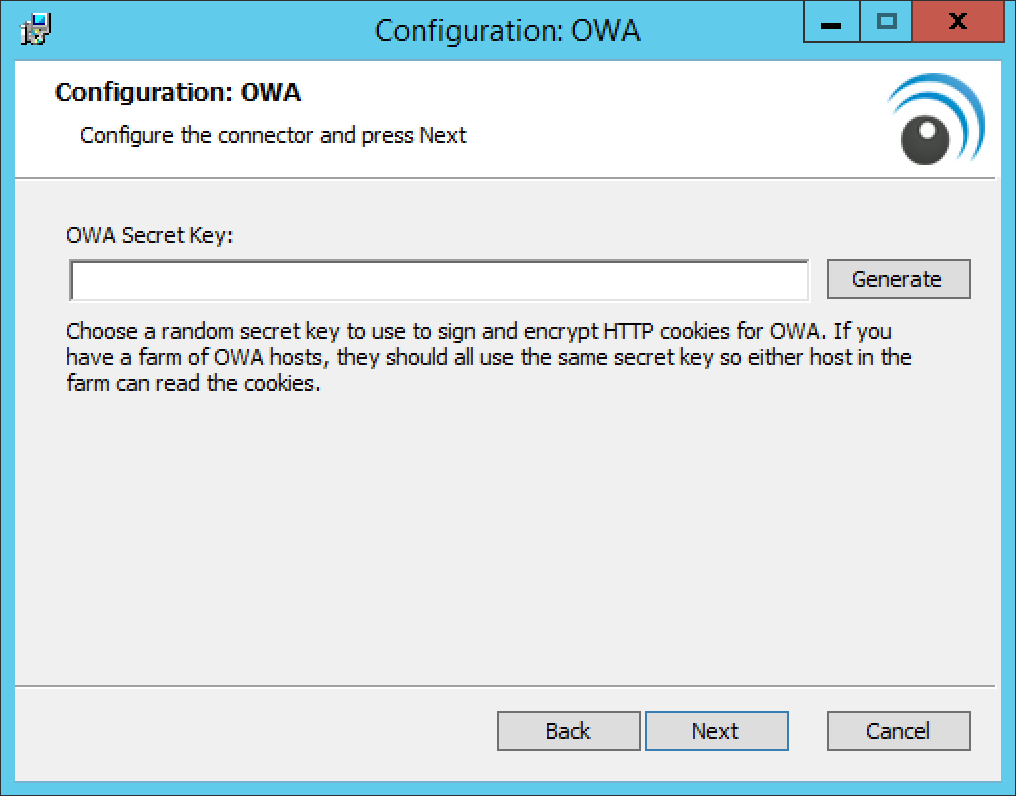
- Choose a secret to use for encrypting and signing OWA sessions. If you already have a OWA secret key, then enter it. Press Next.
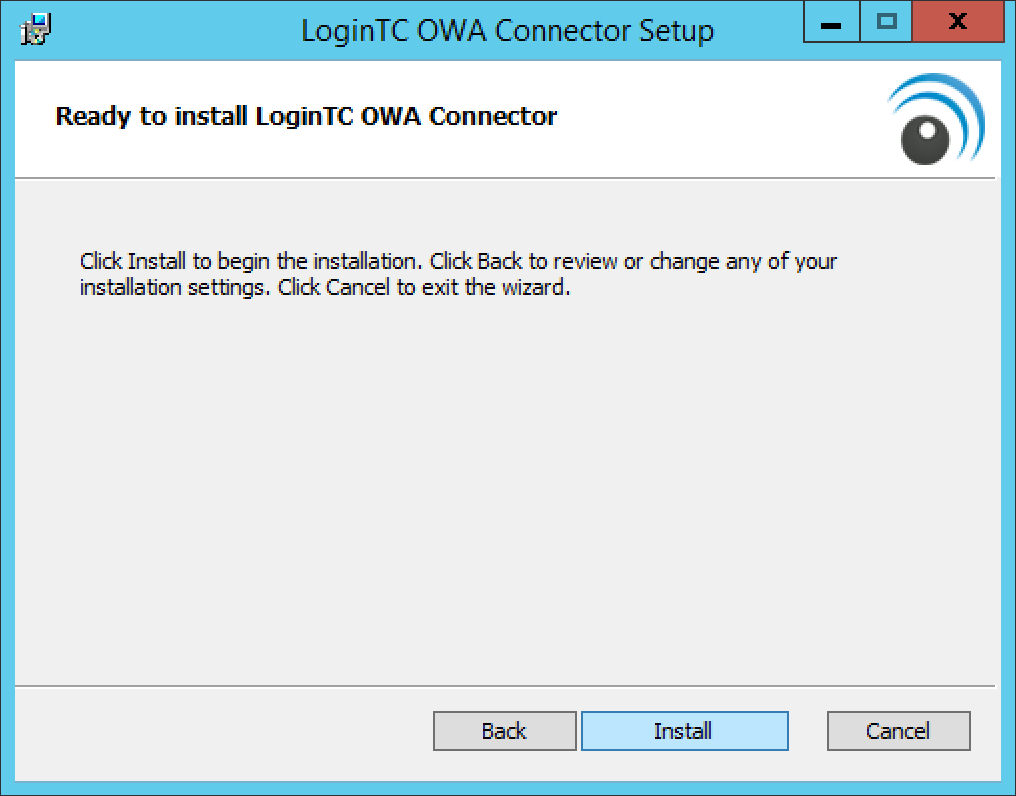
- Press Next.
- Press Finish
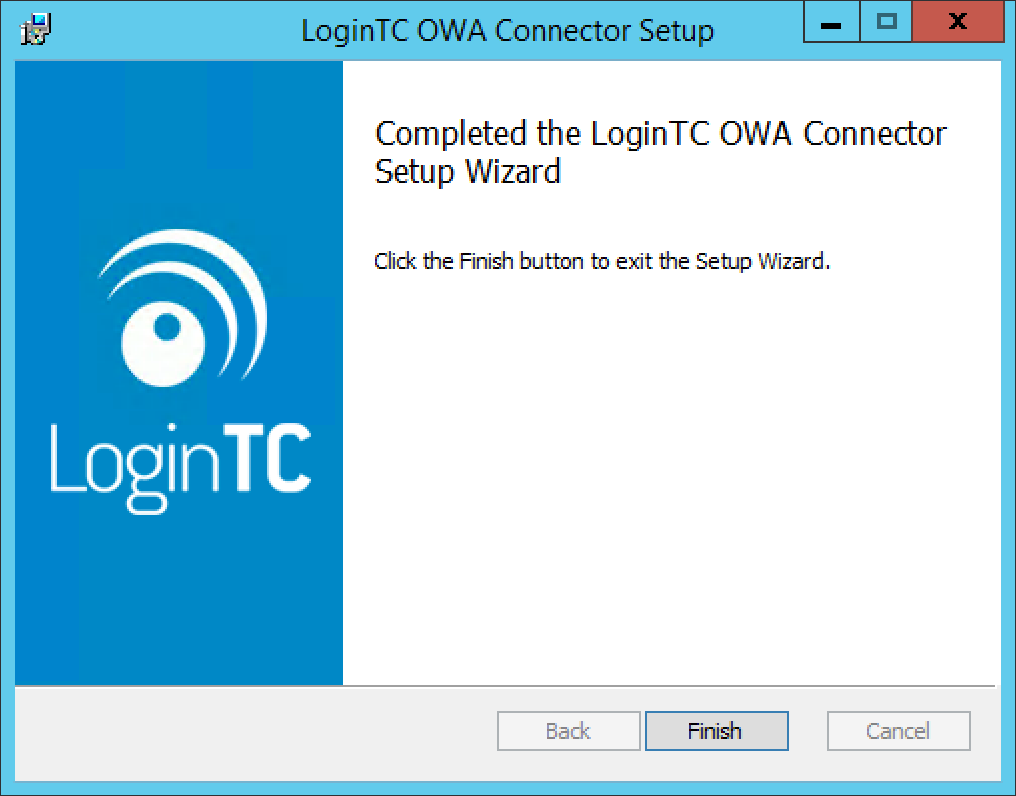
The LoginTC OWA Connector is now installed and protecting your Outlook Web App.
Exchange Cumulative Updates (CU)
It is recommended to reinstall the connector when installing an Exchange Cumulative Update (CU). See the following Knowledge Base article for more information: LoginTC stopped prompting for authentication after installing Exchange Cumulative Update (CU)
This chapter demonstrates the possibilities of the LoginTC OWA Connector from both an administrator’s and end user’s point of view.
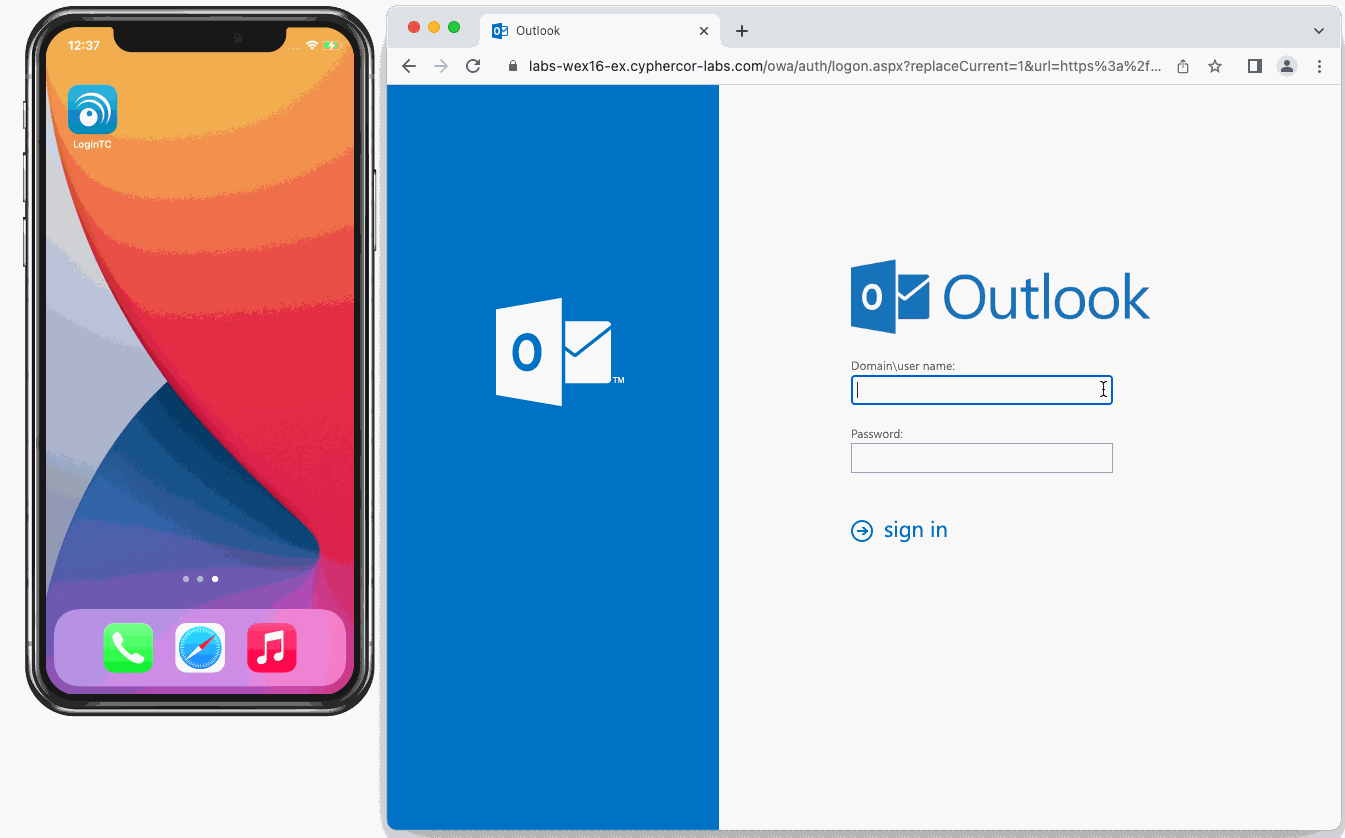
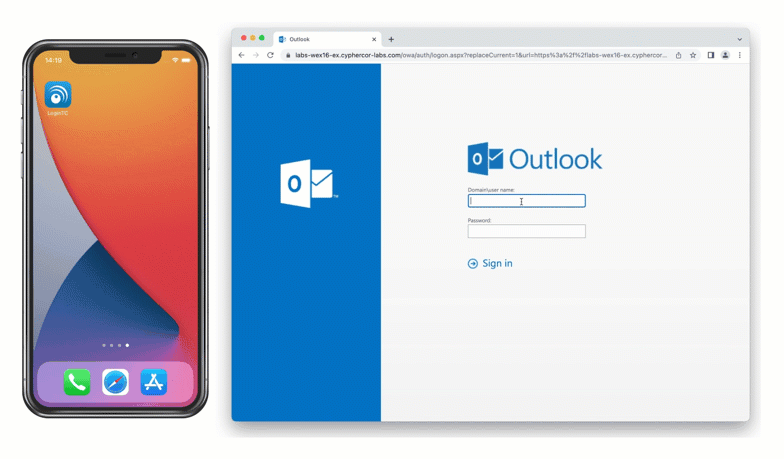
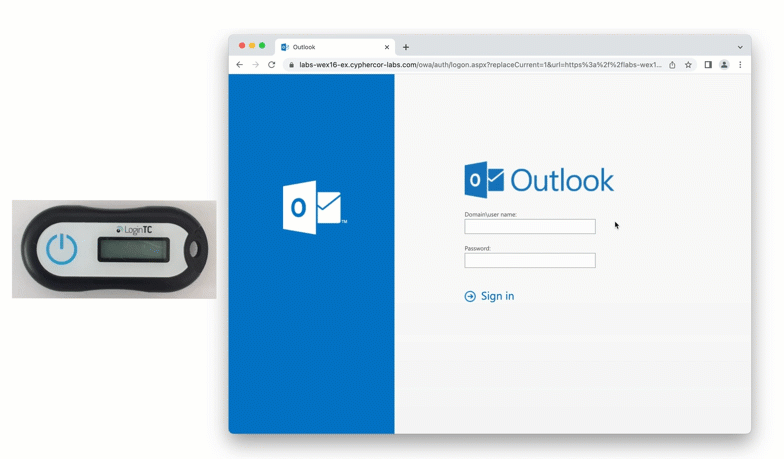
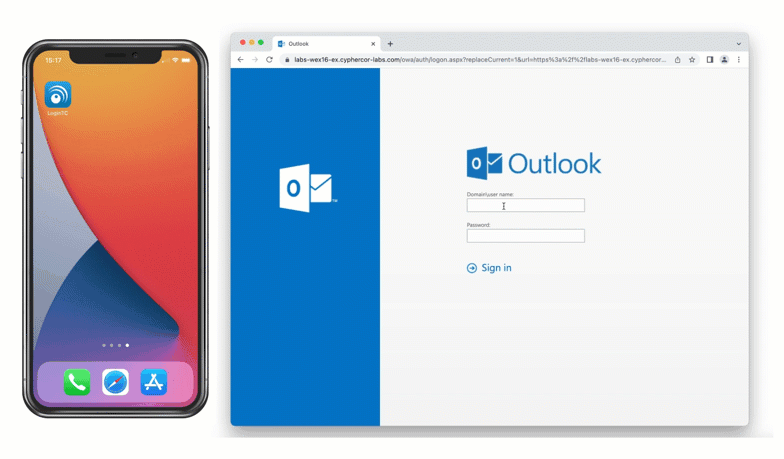
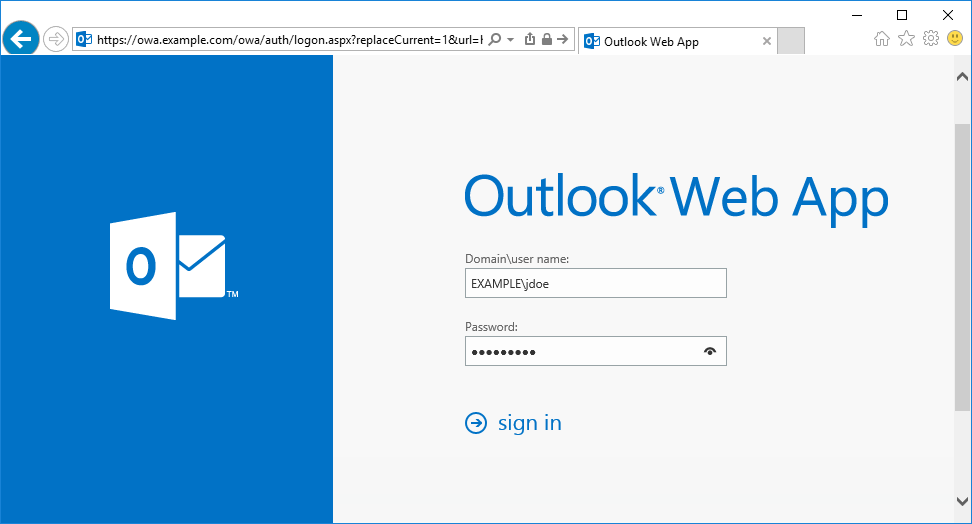
The OWA initial login page where the user enters their username and password is unmodified.
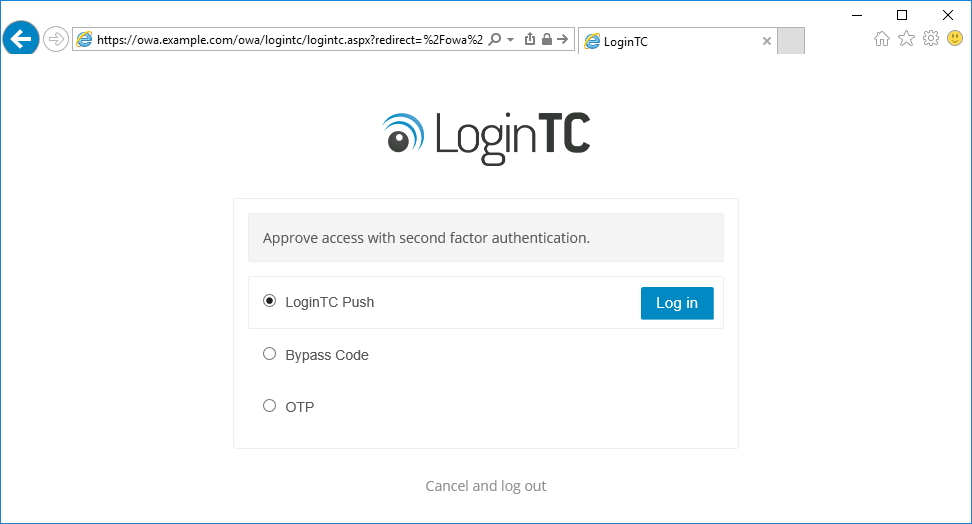
After successfully authenticating with their username and password, the user is presented with options to log in with LoginTC. The user may select to authenticate using LoginTC push, bypass codes, or OTPs.
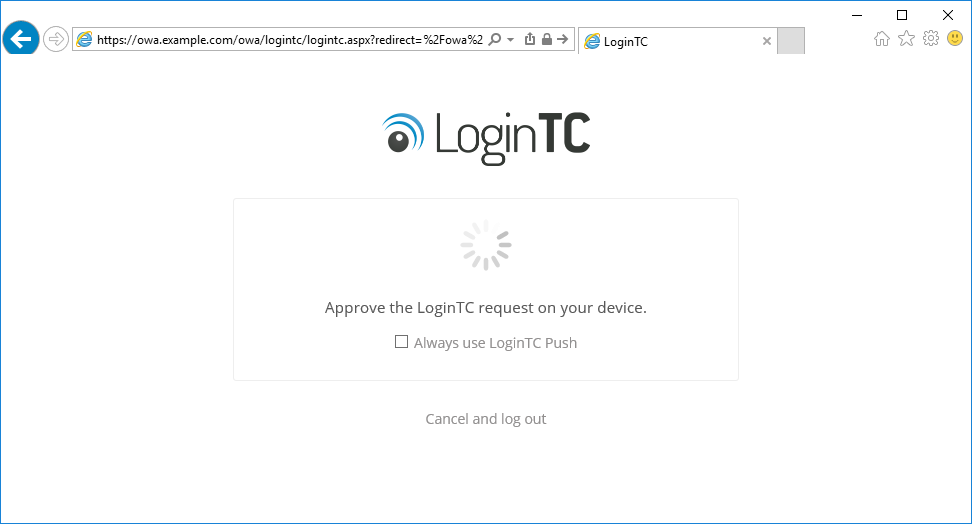
If the user selects LoginTC push, they are informed to approve the LoginTC requst on their device. The user is also presented with an option to remeber their LoginTC login choice. The next time the user logs in they will automatically receive a LoginTC push notification. The user may also cancel the login attempt and return to the login page.
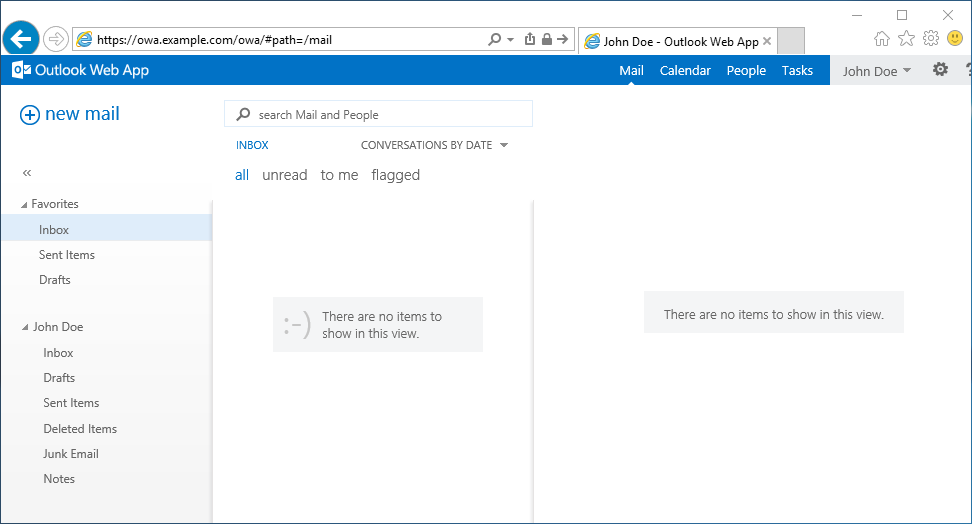
The user is brought to their OWA homepage after successfully authenticating with LoginTC.
The LoginTC OWA Connector logs events to the Microsoft Event Viewer under Applications and Service Logs → LoginTC. LoginTC OWA Connector event logs are helpful in debugging issues.

Passthrough allows you to specify which set of users should be challenged with LoginTC second-factor authentication, and which ones will not. This is often useful when testing and when rollying out a deployment to minimize the impact on others.
Static User List
Setting a static user list tells the LoginTC OWA Connector which users must be challenged for LoginTC second-factor authentication. All other users will be passed through without requiring a second-factor authentication.
Instructions to set a static list of users to be challenged:
- Navigate to
C:\Program Files\Cyphercor\LoginTC OWA Connector. - Create a new file
users.txtin Notepad. - Populate the file with a list of users, one line at a time, in the following format:
DOMAIN\username - Save the file.
- Your change will be picked up by the connector within 60 seconds.
If the users.txt file does not exist then all users will be challenged with LoginTC second-factor authentication.
Group List
Setting a group list tells the LoginTC OWA Connector which Active Directory group members must be challenged for LoginTC second-factor authentication. All other users not belonging to any of the listed AD groups will be passed through without requiring a second-factor authentication.
Instructions to set a list of AD groups to be challenged:
- Navigate to
C:\Program Files\Cyphercor\LoginTC OWA Connector. - Create a new file
groups.txtin Notepad. - Populate the file with a list of AD groups, one line at a time, in the following format:
GROUP NAME - Save the file.
- Your change will be picked up by the connector within 60 seconds.
If the groups.txt file does not exist then all users will be challenged with LoginTC second-factor authentication (unless a static user list file exists).
IP Address List
Setting an IP Address list tells the LoginTC OWA Connector not to challenge users with LoginTC second-factor authentication when they come from these IP Addresses.
Instructions to set a list of ip addresses to bypass:
- Navigate to
C:\Program Files\Cyphercor\LoginTC OWA Connector. - Create a new file
ipaddresses.txtin Notepad. - Populate the file with a list of CIDRs (ie. 192.168.0.1/24, 192.168.4.4/32), one per line.
- Save the file.
- Your change will be picked up by the connector within 60 seconds.
Useful tool: https://www.ipaddressguide.com/cidr.
UpgradeTo upgrade the LoginTC OWA Connector, first uninstall the previous version and then install the newer version.
UninstallationTo uninstall the LoginTC OWA Connector, simply navigate to the Add or remove programs in the Windows Control Panel, find LoginTC OWA Connector in the list and follow the prompts.
Troubleshooting
LoginTC stopped prompting after installing Exchange CU
If LoginTC has stopped prompting for authentication after installing an Exchange Cumulative Update (CU), see the following Knowledge Base article: LoginTC stopped prompting for authentication after installing Exchange Cumulative Update (CU)
Email Support
For any additional help please email support@cyphercor.com. Expect a speedy reply.
You may also be interested in our: