Last Updated: March 21, 2025
The LoginTC AD FS Connector protects access to your Microsoft Active Directory Federation Services (AD FS) by adding a second factor LoginTC challenge to existing username and password authentication. The LoginTC AD FS Connector provides a LoginTC multi-factor authentication (MFA) method to your AD FS deployment, used by your Box Business or Enterprise account.
Learn how LoginTC integrates with Box below.
Subscription Requirement
Your organization requires the Business or Enterprise plan to use the LoginTC AD FS Connector. Explore Pricing Plans
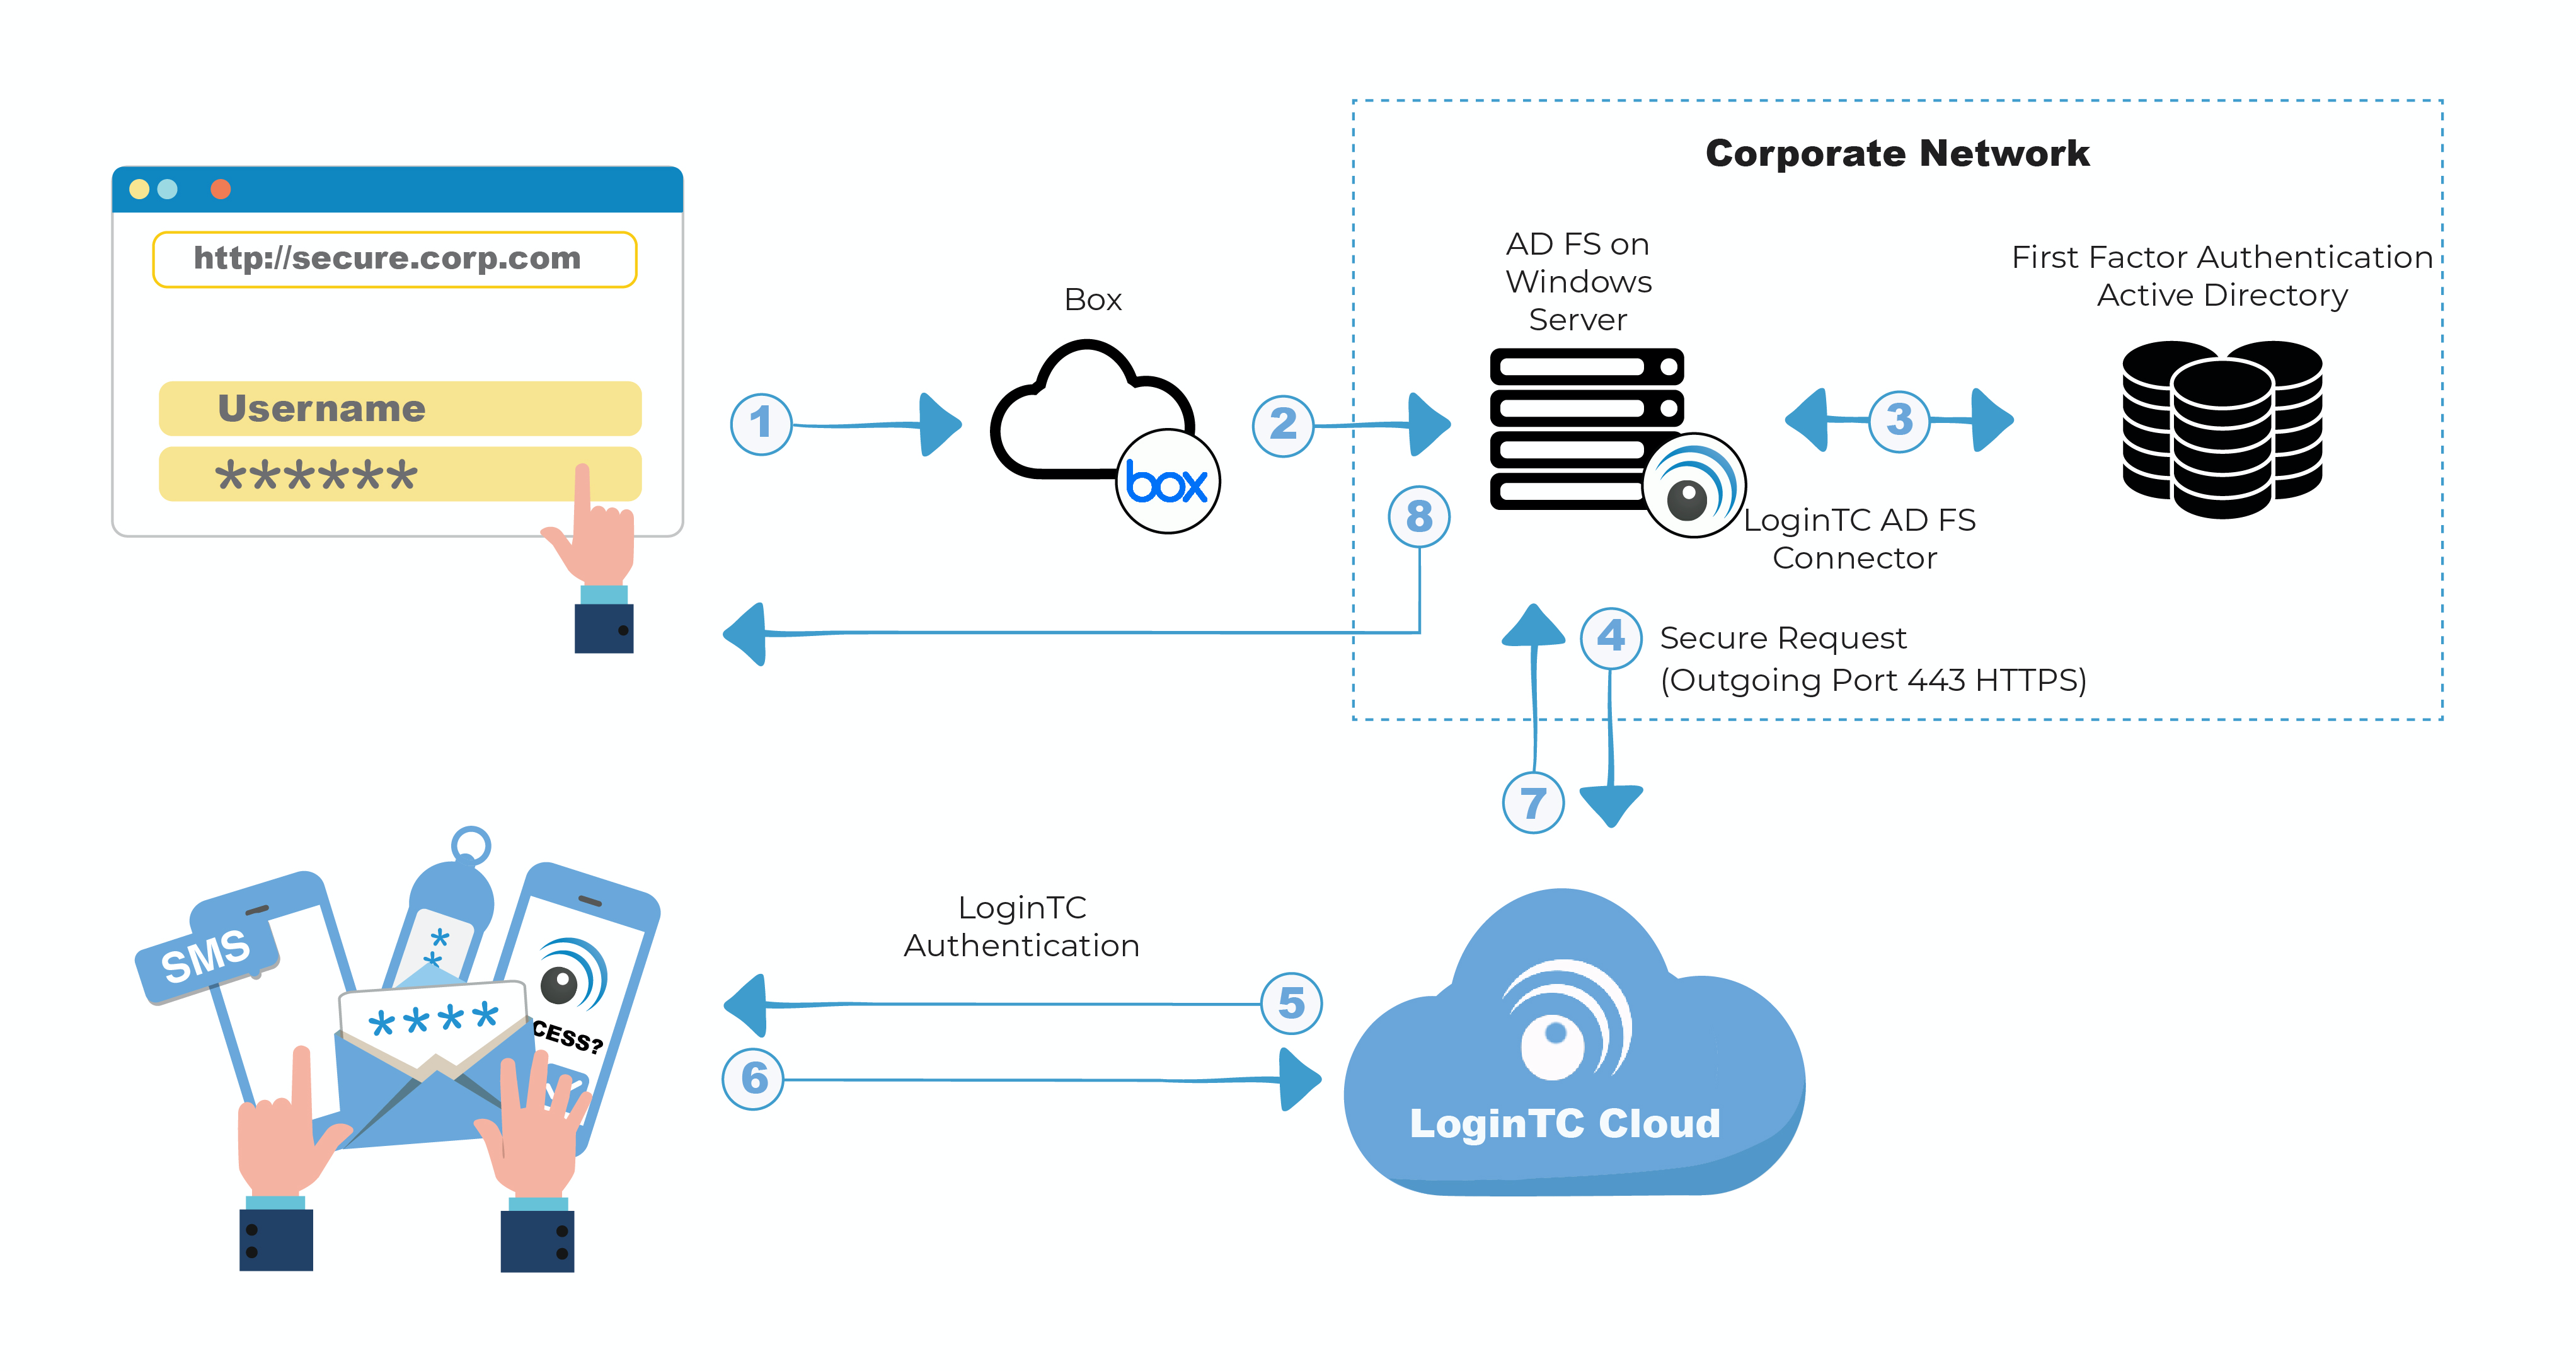
After entering the username and password into the AD FS login page, the user is shown a selection of second factor options. The user clicks a button to receive a LoginTC push notification, authenticates and is logged in.
Authentication Flow
- A user attempts access to Box with username / password
- A SAML request is made to AD FS
- The username / password is verified against an existing first factor directory (i.e. Active Directory)
- The request is trapped by LoginTC AD FS Connector and an authentication request is made to LoginTC Cloud Services
- Secure push notification request sent to the user’s mobile or desktop device
- User response (approval or denial of request) sent to LoginTC Cloud Services
- The LoginTC AD FS Connector validates the user response
- User is granted access to Box
Prefer Reading a PDF?
Download a PDF file with configuration instructions:
Get the Box with LoginTC guide for Two Factor Authentication
Before proceeding, please ensure you have the following:
- Box configured with federation to your on-premises AD FS
- LoginTC Admin Panel account
- Active Directory Federation Services (AD FS) Host, Microsoft Windows Server 2016 (or Windows Server 2012)
Working Box Federation Deployment
It is strongly recommended that you have a working Box account with federation against your on-premises AD FS prior to adding LoginTC multi-factor authentication. Please see the guide, Setting Up Single Sign On (SSO) for your Enterprise, to configure your box to use your on-premises AD FS.
Start by creating a LoginTC Application for your deployment. An Application represents a service (e.g. An application is a service (e.g., VPN or web application) that you want to protect. e) that you want to protect with LoginTC.
Create a LoginTC Application in LoginTC Admin Panel, follow Create Application Steps.
If you have already created a LoginTC Application for your deployment, then you may skip this section and proceed to Installation.
Normalize Usernames
Usernames in ADFS are typically in the form “CORP\john.doe”, while in the LoginTC Admin Panel it is generally more convenient to simply use “john.doe”.
Configure Normalize Usernames from the Domain settings by navigating to Domains > Your Domain > Settings.
Select Yes, Normalize Usernames scroll down and click Update.
- Download the latest version of the LoginTC AD FS Connector
- Run the installer file as a privileged administrator user on the Windows Server with the AD FS role. Also ensure that the AD FS service is running prior to installing.
- Press Next
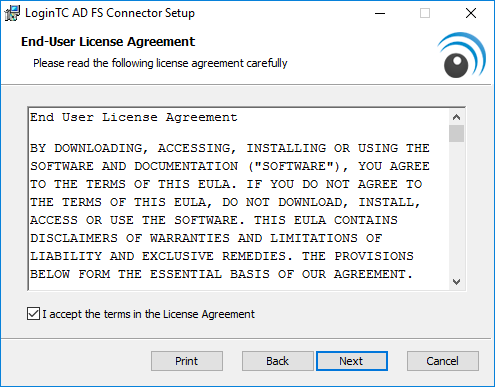
- Read the License Agreement and press Next if you accept the terms.
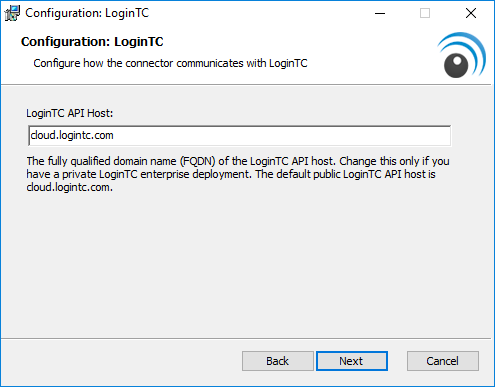
- Change the LoginTC API Host only if you have a private enterprise LoginTC deployment. Press Next:
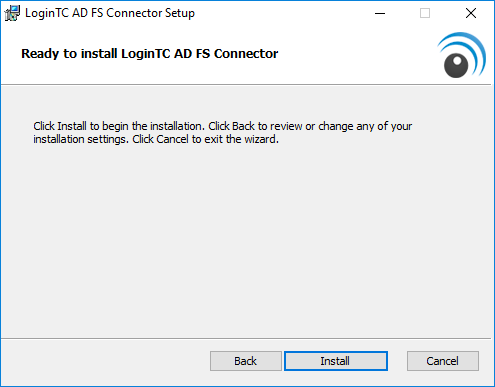
- Enter your LoginTC Application ID and Application API Key. These values are found on your LoginTC Admin Panel. Press Next

- Press Install. Note that the AD FS service will be restarted during installation and may be temporarily unavailable to your users.
Windows Server 2016 (AD FS version 4.0)
The instructions below are for AD FS (version 4.0) running on Windows Server 2016. If you have AD FS (3.0) running on Windows Server 2012 R2, see AD FS Configuration in Two-factor authentication for AD FS on Windows Server 2012 R2.
To configure your AD FS to use the LoginTC MFA method:
- Open the AD FS Management console.
- Click on the Services > Authentication Policies directory in the left side menu.
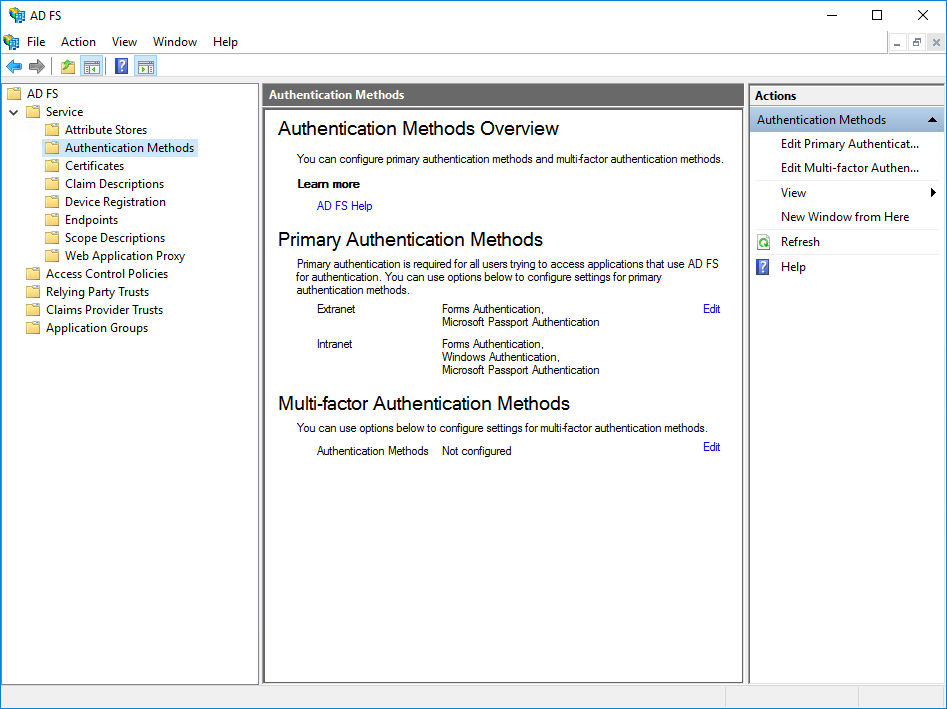
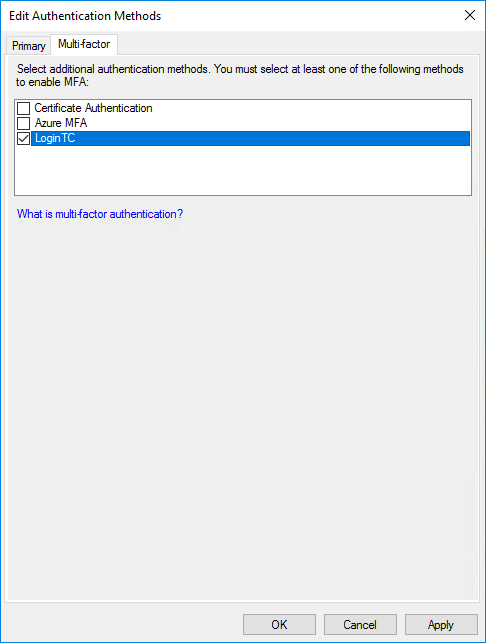
- Click on Edit Global Multi-factor Authentication…
- Check LoginTC in the list of MFA methods.
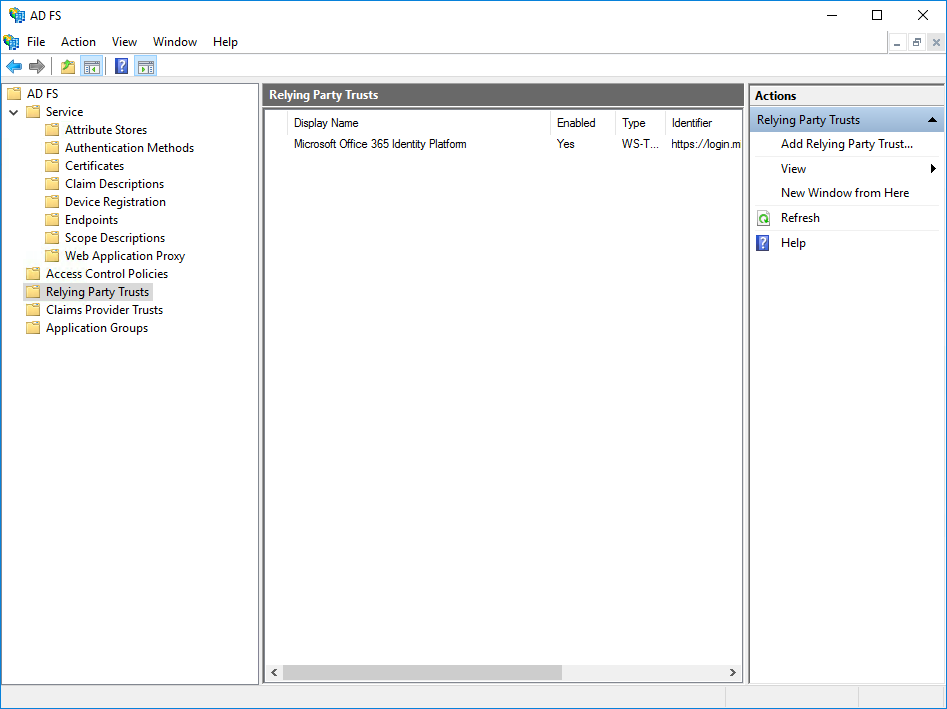
- Click on Relying Party Trusts in the left side menu
- Select the Relying Party you wish to add LoginTC MFA to
- Click on Edit Access Control Policy… under Actions in the right sidebar
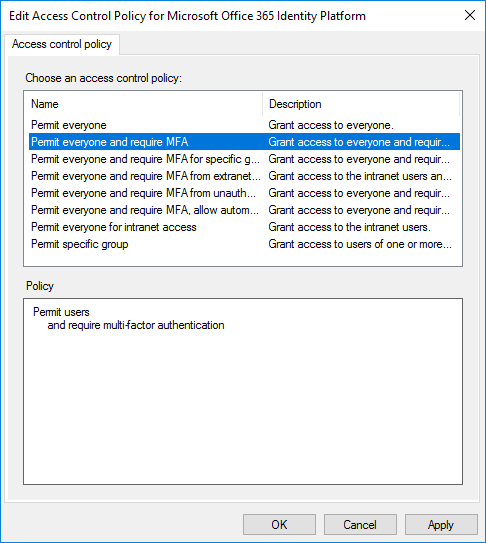
- Select an access control policy that uses MFA (e.g. Permit everyone and require MFA)
- Press Apply and OK
Windows Server 2019
If you are installing the LoginTC AD FS Connector on Windows Server 2019 you are required to run the following PowerShell command to allow the AD FS login page to embed the LoginTC authentication options:
Set-AdfsResponseHeaders -SetHeaderName "Content-Security-Policy" -SetHeaderValue "frame-src 'self' https://cloud.logintc.com"
Your AD FS login will now present the user with a secondary LoginTC authentication page.
UsageUser Usage
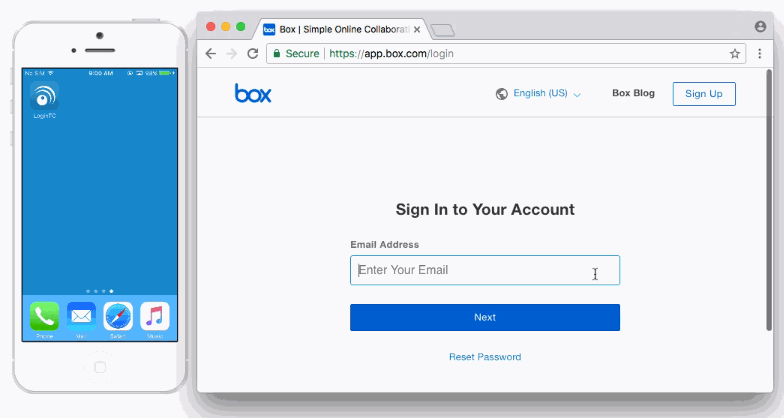
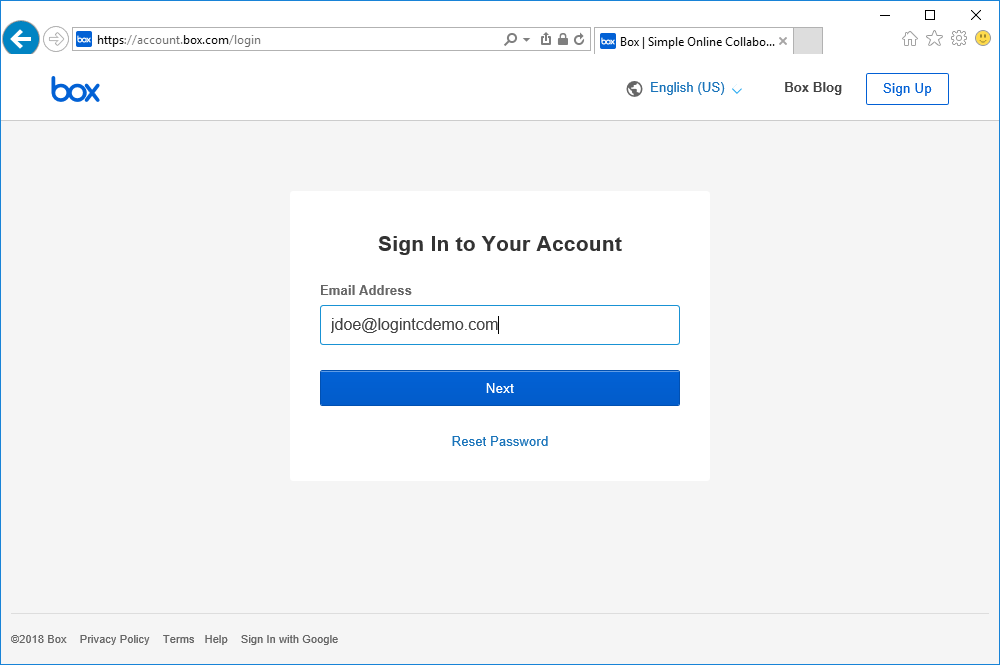
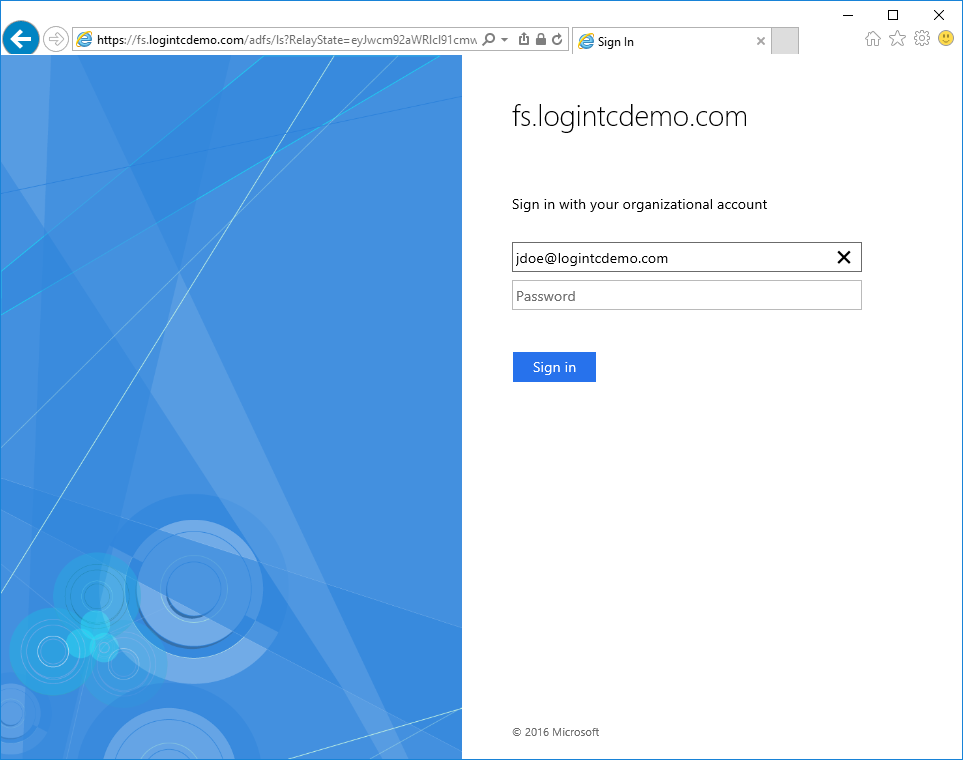
The user proceeds to the Box sign in page as they normally would where they enter their username.
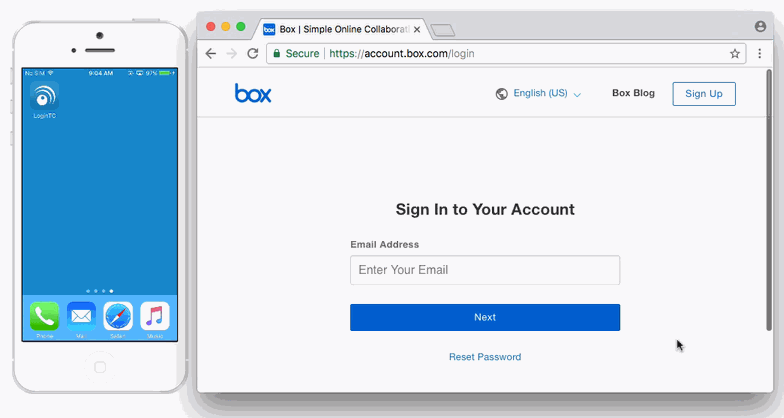
The user is brought to your on-premises AD FS where they are prompted to enter their username and password.
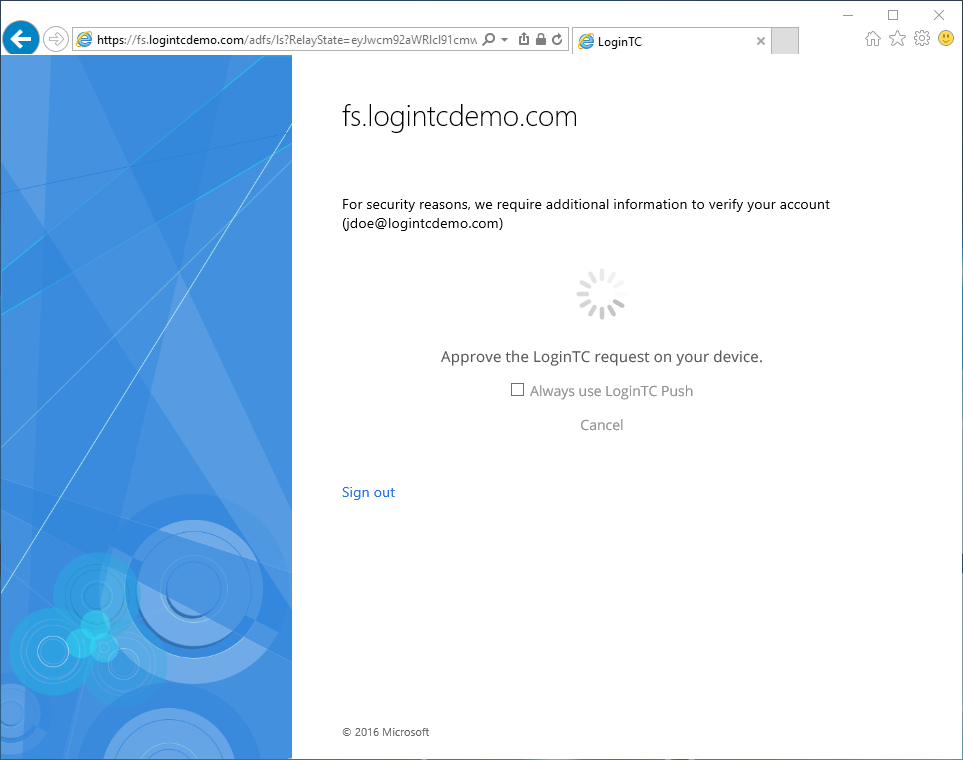
After successfully authenticating with their username and password, the user is presented with options to log in with LoginTC. The user may select to authenticate using LoginTC push, bypass codes, or OTPs.

If the user selects LoginTC push, they are informed to approve the LoginTC request on their device. The user is also presented with an option to remember their LoginTC login choice. The next time the user logs in they will automatically receive a LoginTC push notification. The user may also cancel the login attempt and return to the login page.
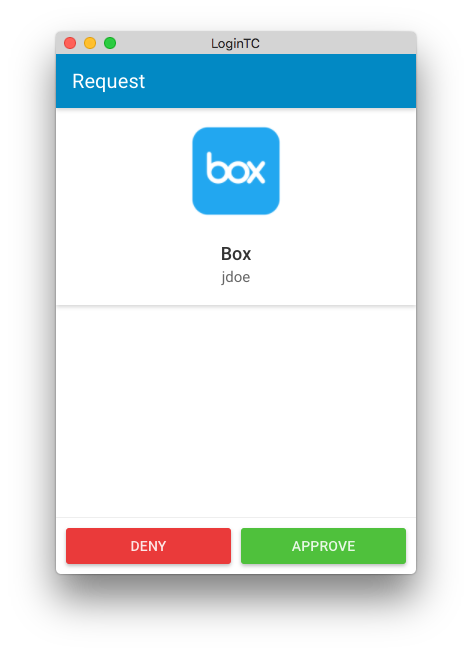
The user receives a push notification on their device where they have provisioned their LoginTC token.
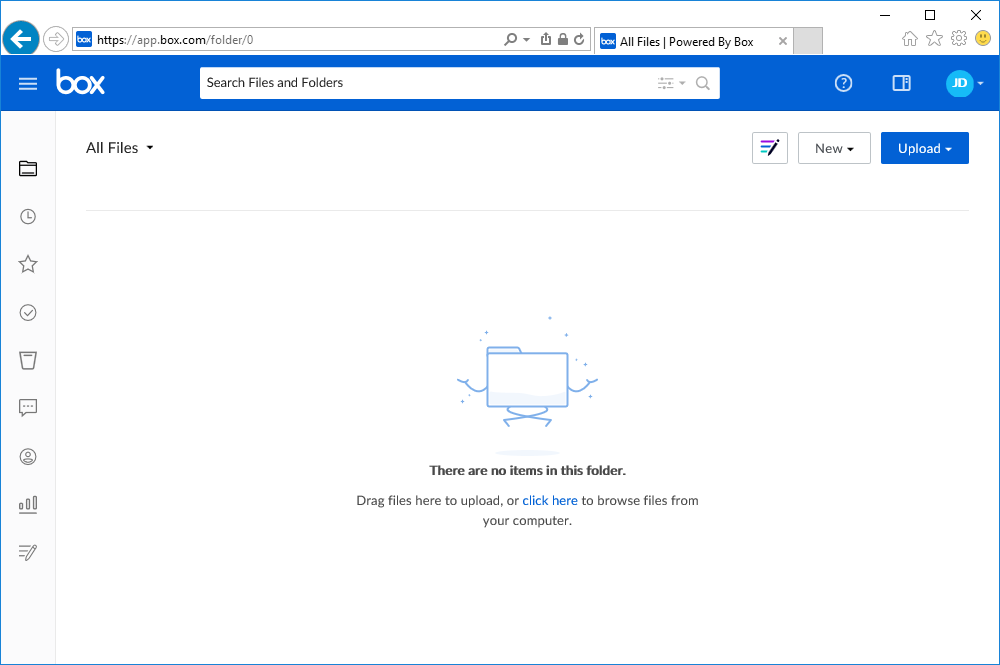
After successfully authenticating with LoginTC, the user is redirected back to Box.
Logging
The LoginTC AD FS Connector logs events to the Microsoft Event Viewer under Applications and Service Logs → LoginTC. In some cases, it may be helpful to also look at the general AD FS logs under Custom Views → ServerRoles → Active Directory Federation Services.

To uninstall the LoginTC AD FS Connector, simply navigate to the Add or remove programs in the Windows Control Panel, find LoginTC AD FS Connector in the list and follow the prompts.
Prior to Uninstalling
Prior to uninstalling the LoginTC AD FS Connector, ensure that the LoginTC MFA method is not being used in any of your AD FS authentication policies. The uninstallation will fail if the LoginTC MFA method is being used in any of your AD FS authentication policies.
Email Support
For any additional help please email support@cyphercor.com. Expect a speedy reply.