LoginTC RADIUS Connector Upgrade Guide
- Overview
- Migration
- Applications
- LoginTC RADIUS Connector 4.X
- LoginTC RADIUS Connector 3.X
- LoginTC RADIUS Connector 2.X
- Troubleshooting
Important: LoginTC RADIUS Connector 2.X End-of-life
The LoginTC RADIUS Connector 2.X virtual appliance is built with CentOS 6.8. CentOS 6.X is End of Lifetime (EOL) November 30th, 2020. Although the appliance will still function it will no longer receive updates and nor will it be officially supported.
Important: LoginTC RADIUS Connector 3.X End-of-life
The LoginTC RADIUS Connector 3.X virtual appliance is built with CentOS 7.9. CentOS 7.X is End of Lifetime (EOL) June 30th, 2024. Although the appliance will still function it will no longer receive updates and nor will it be officially supported.
New LoginTC RADIUS Connector 4.X
A new LoginTC RADIUS Connector 4.X virtual appliance has been created. The Operating System will be supported for many years. Inline upgrade is not supported. As a result upgrade is deploying a new appliance. The appliance has been significantly revamped and although the underlying functionality is identical, it has many new features to take advantage of.
Migration tools are built into LoginTC RADIUS Connector 4.X. If you have an existing 3.X appliance deployed you can migrate your configurations to 4.X using the tool, see the full steps: LoginTC RADIUS Connector 4.X.
If you have an existing 2.X appliance deployed you must first upgrade to 2.7.1: LoginTC RADIUS Connector 2.X. Then you will be able to migrate your configurations to 4.X using the tool, see the full steps: LoginTC RADIUS Connector 4.X.
ApplicationsApplications are services (e.g. VPN or web application) that you want to protect with LoginTC. They allow you to reuse the same LoginTC tokens for a particular Domain across multiple services with their own policies. Policies can only be used with Applications and allow for administrators to specify rules to be applied to groups of users during authentication. This guide will help understand how to upgrade your LoginTC Connectors to take advantage of Applications and Policies.
Upgrade to Applications
See the Applications Connector Upgrade Guide page for more information about how to upgrade your connectors to use Applications.
Step 1: Upgrade to version 4.X+
- Download the latest LoginTC RADIUS Connector:
- Import the virtual appliance your computer virtualization software
- Ensure that LoginTC RADIUS Connector has a virtual network card
- Start the virtual appliance
- You will be with a console prompt:
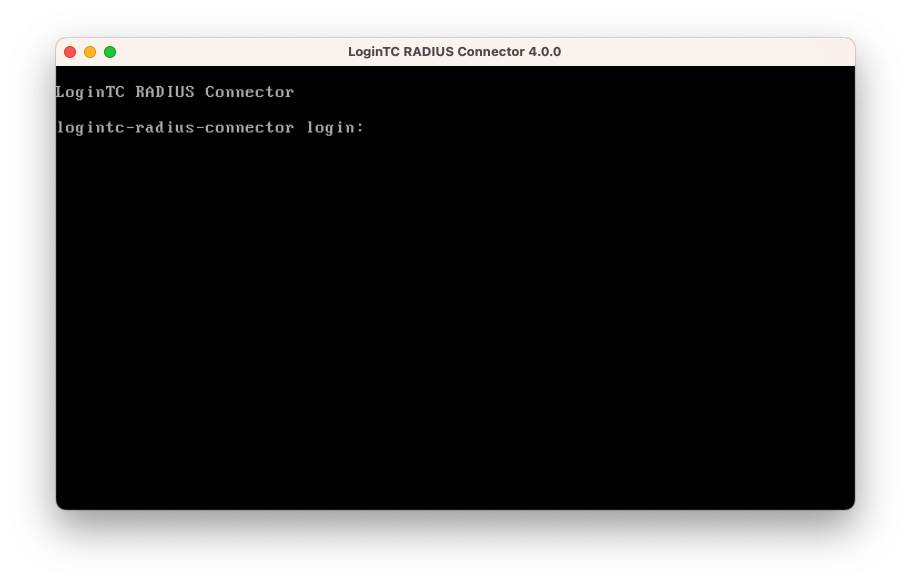
- Login using the username logintc-user and default password logintcradius:
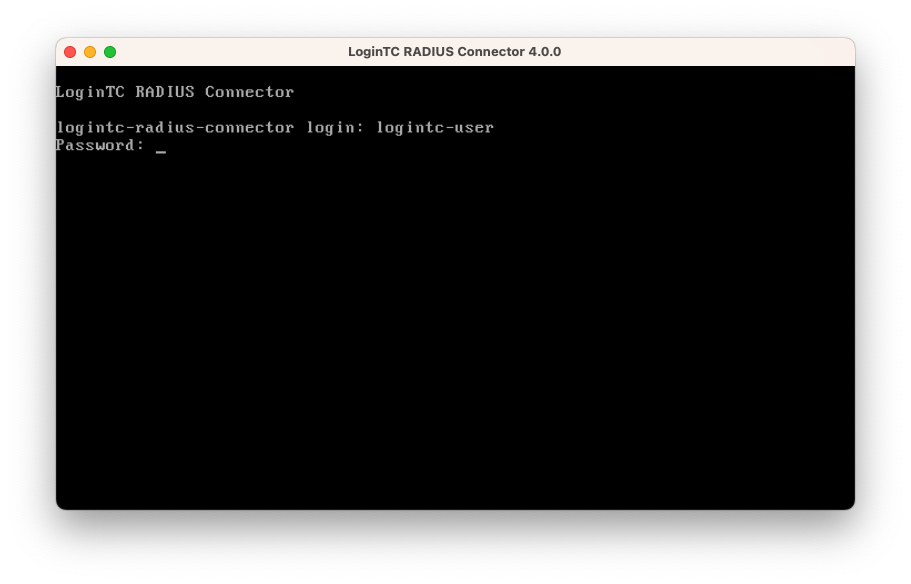
- Once logged in type setup:

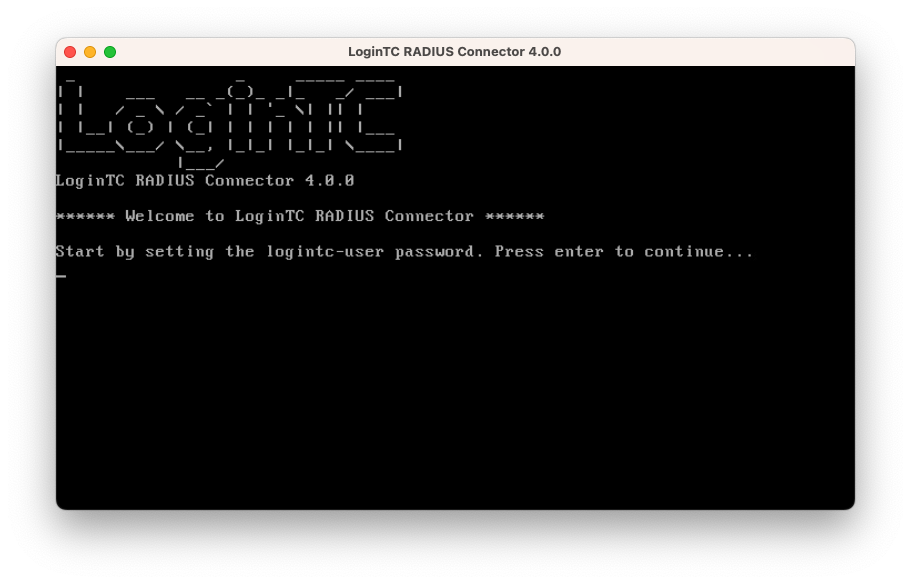
- Follow the on-screen prompt to setup a new password for logintc-user:
- By default the appliance network is not configured. Manually configure the network by typing 1 and hit enter:
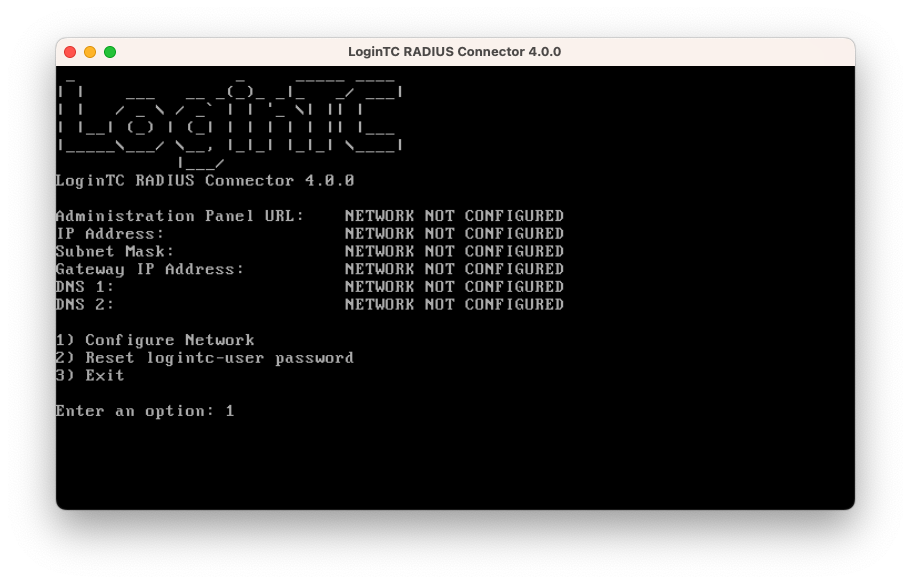
- Follow the on-screen prompts to setup the network. When done, type 1 and enter to confirm the settings:
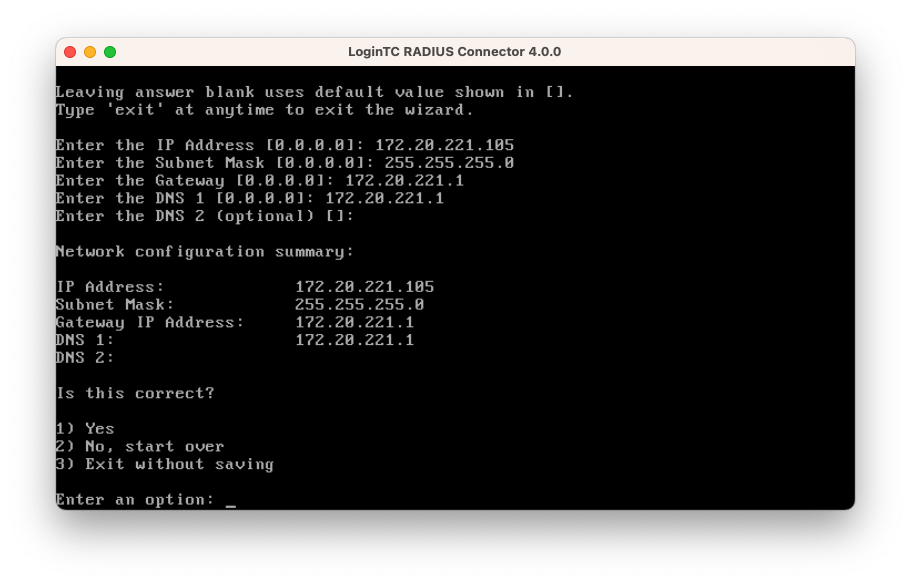
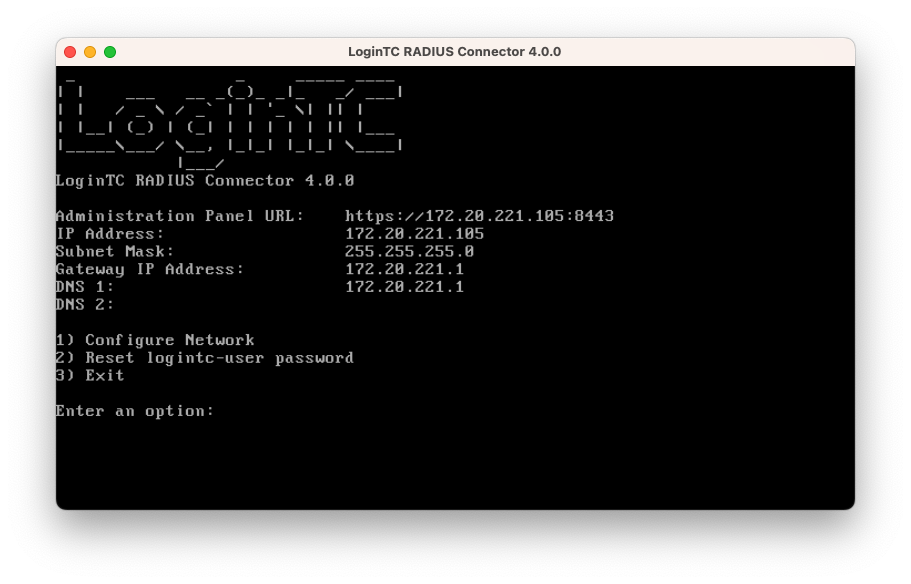
- You will be presented with the network configuration which includes the URL to connect to the appliance from a web browser (example https://172.20.221.105:8443):
The LoginTC RADIUS Connector runs Linux with SELinux. A firewall runs with the following open ports:
| Port | Protocol | Purpose |
|---|---|---|
| 1812 | UDP | RADIUS authentication |
| 443 | TCP | API traffic |
| 8443 | TCP | Web interface |
| 123 | UDP | NTP, Clock synchronization (outgoing) |
Note: Username and Password
logintc-user is used for SSH and web access. The default password is logintcradius. You will be asked to change the default password on first boot of the appliance.
Step 2: Import from existing deployment
- Navigate to the URL shown in the console dashboard (example:
https://172.20.221.105:8443):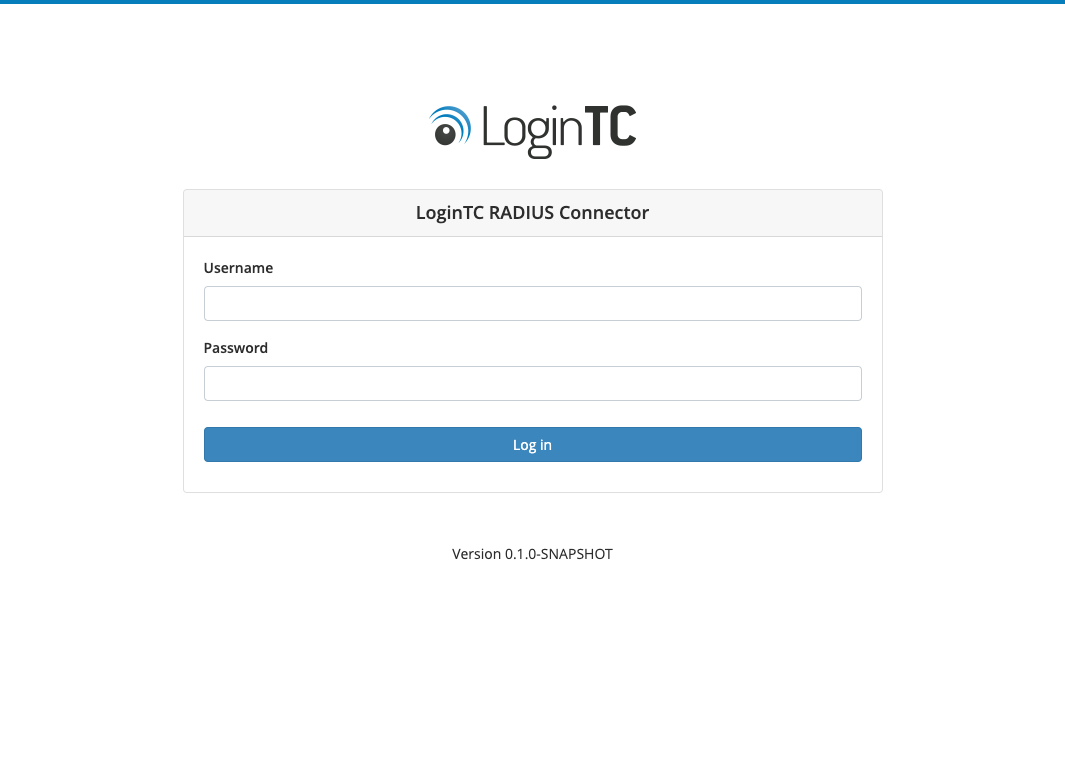
- Login using the username logintc-user and the password that was set in the initial setup:

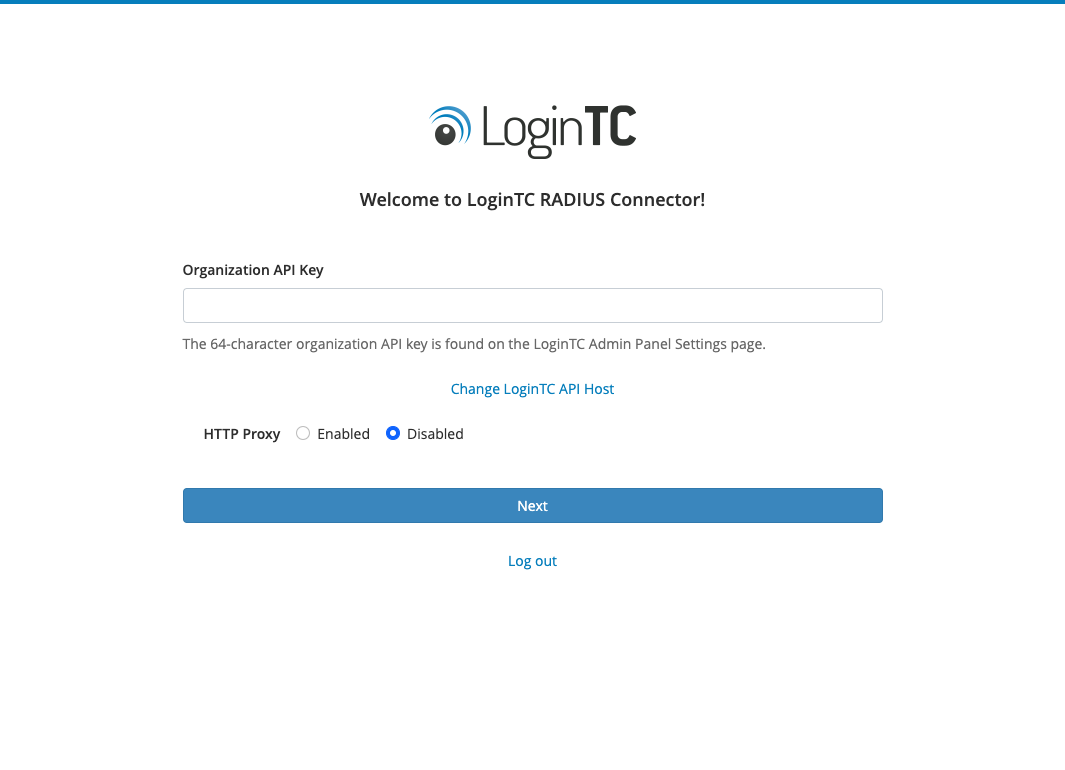
- Link to your existing LoginTC organization. The 64-character Organization API Key is found on the LoginTC Admin Panel under Settings >page API >page Click to view, also see Organization API Key:
- Confirm the LoginTC organization name and click Continue to LoginTC RADIUS Connector:

- Click Yes, import configurations from an existing LoginTC RADIUS Connector:

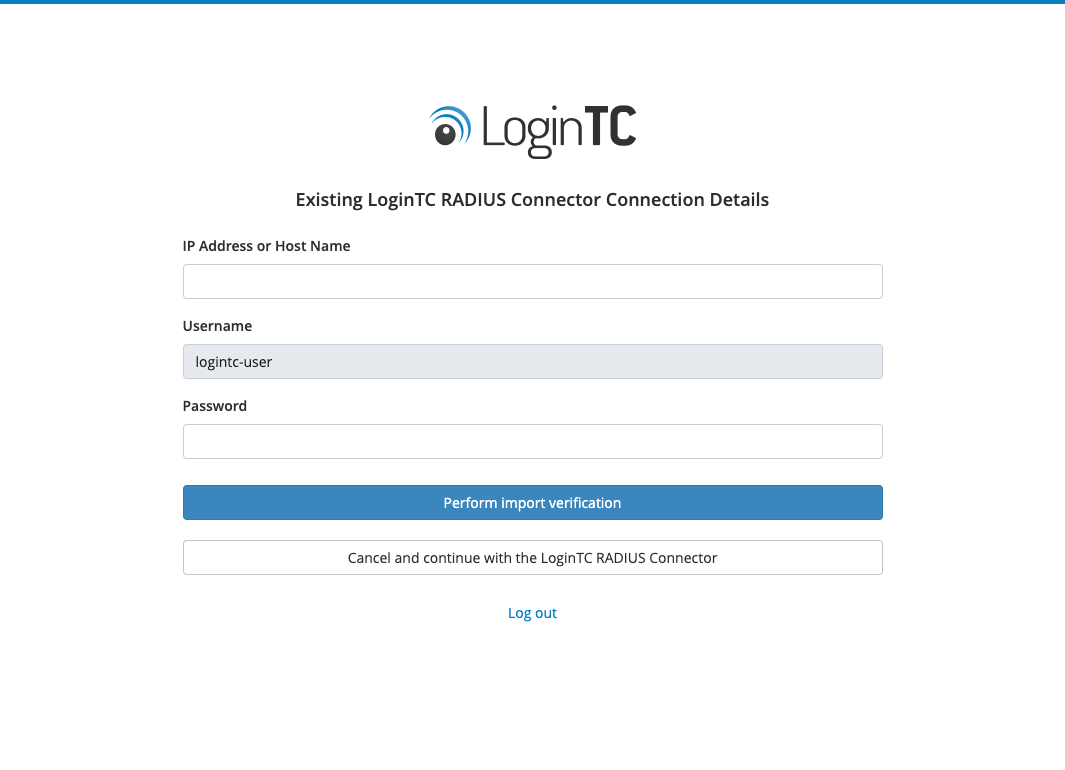
- Enter the IP Address and password for the logintc-user on the existing LoginTC RADIUS Connector and click Perform import verification:
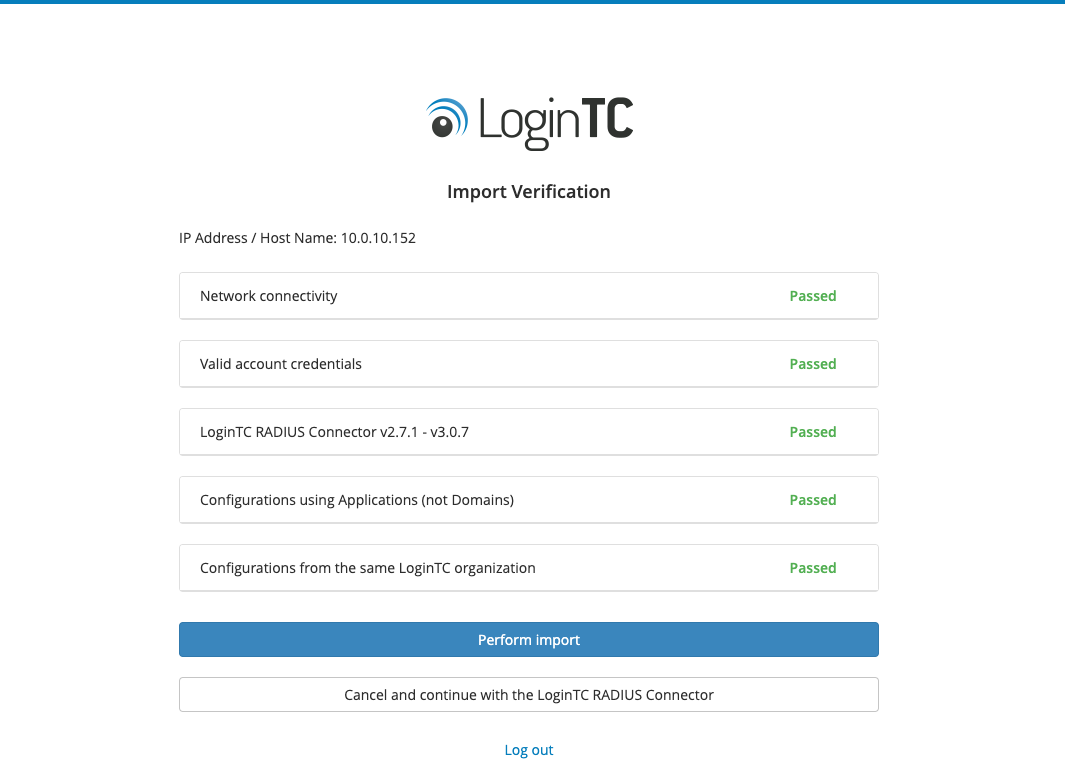
- Review the notice to continue
- On successful verification, click Perform import:
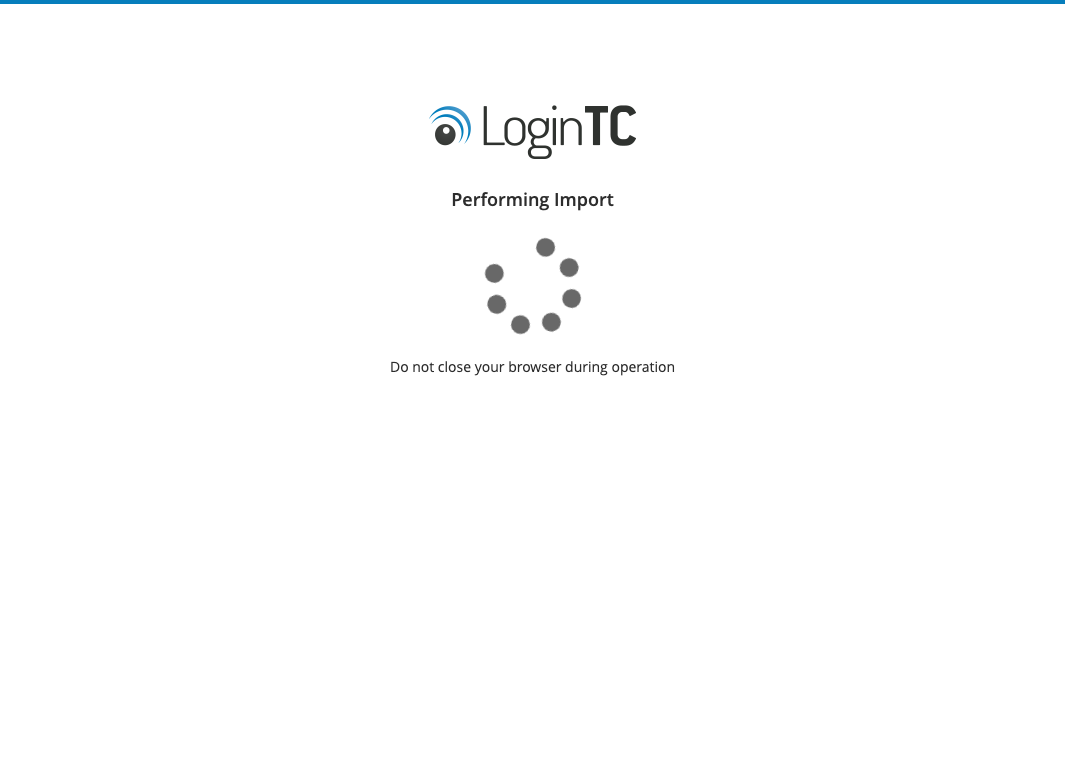
- Import can take up to a minute depending on the existing configurations:
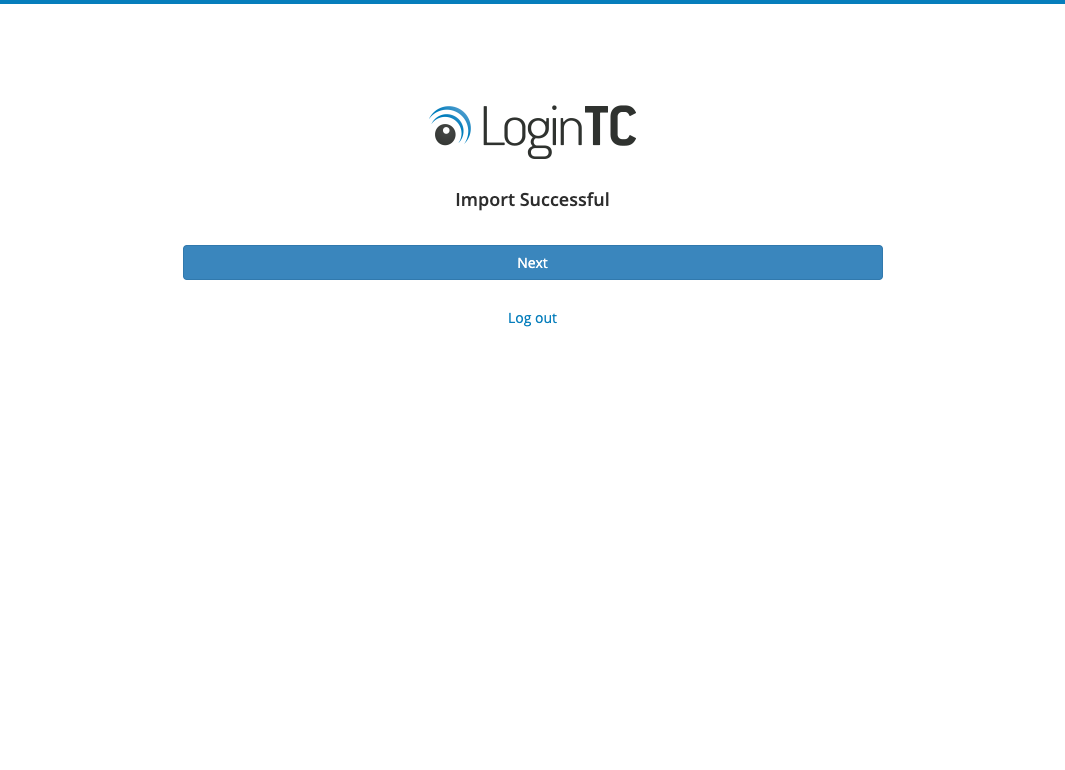
- When complete, click Next:
- Now you are ready to use the LoginTC RADIUS Connector:
NOTE
The endpoints page in the screenshot is intentionally empty. You should see the configuration imported from your existing LoginTC RADIUS Connector.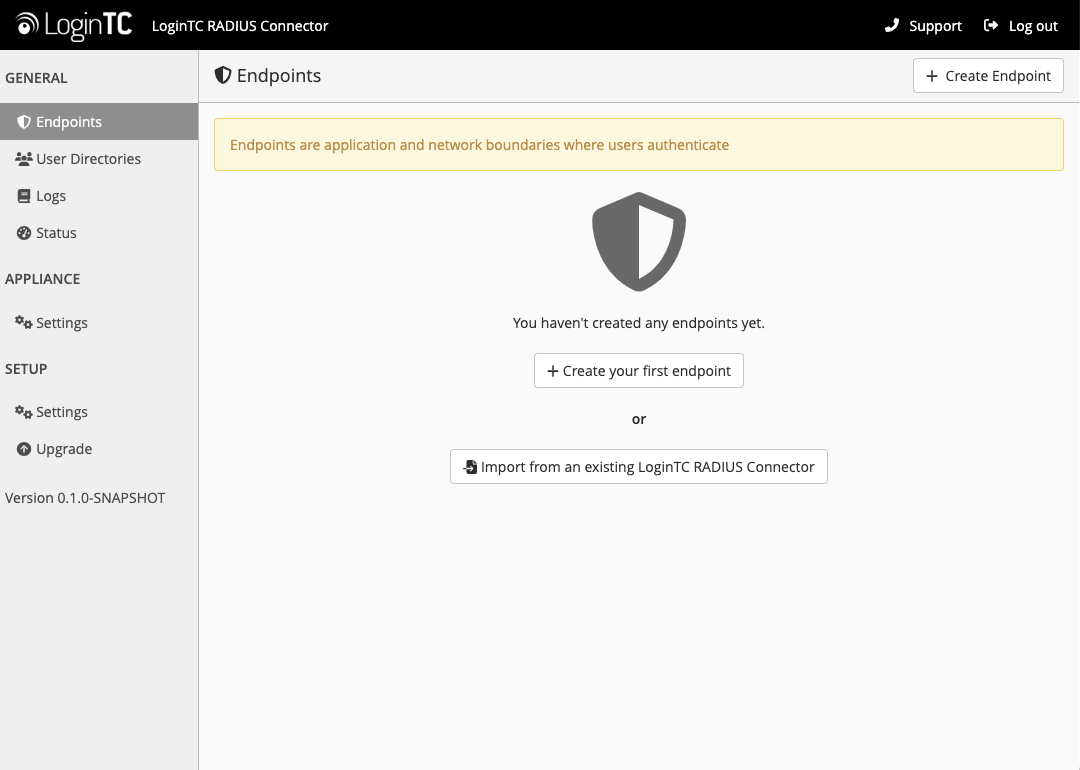
Step 3: Test Endpoint on LoginTC RADIUS Connector
Navigate to your appliance web interface URL. Use username logintc-user and the password you set upon initial launch of the appliance. Select an Endpoint and then Test Endpoint.
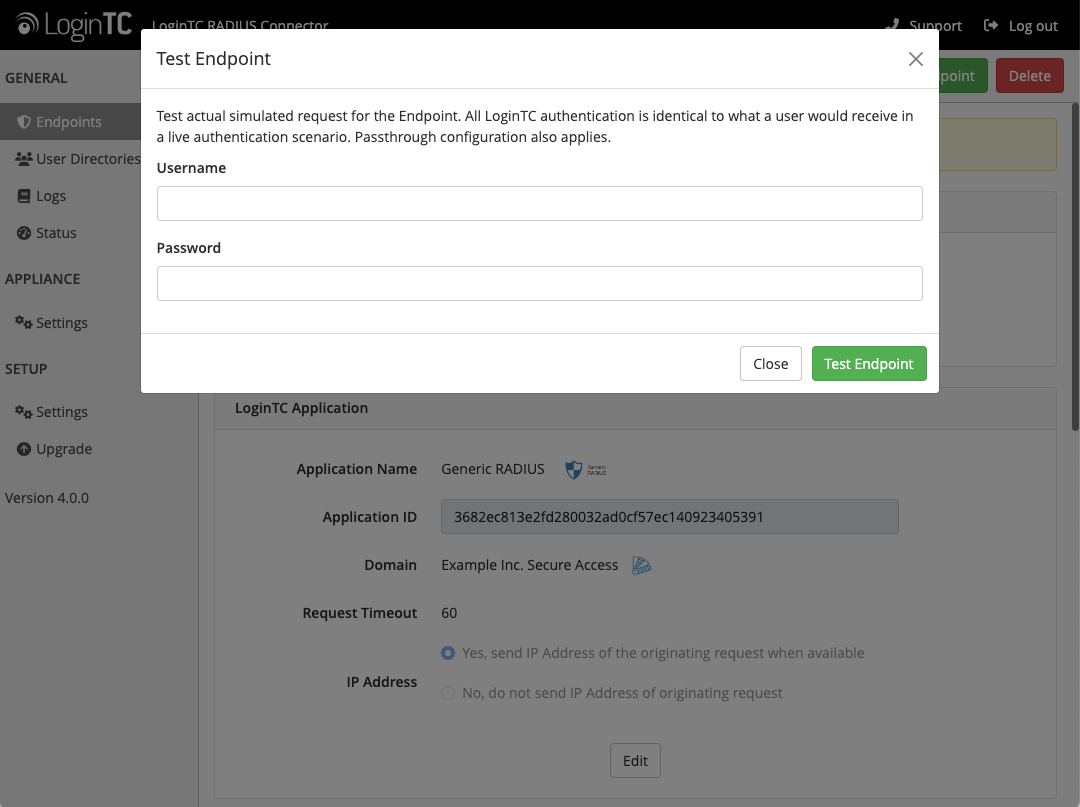
Ensure that it behaves as expected. If the User Directory used for First Factor authentication had firewall rules in place, make sure the same rules are in place for the new appliance.
Step 4: Configure RADIUS Client to leverage new LoginTC RADIUS Connector
Now configure the RADIUS Client (i.e. VPN, Web Access Manager, Unix host etc…) to point to the new LoginTC RADIUS Connector. Please refer to the appropriate documentation: LoginTC Connectors. Test that the environment behaves as appropriate.
An alternative method would be to set the static IP Address of the new LoginTC RADIUS Connector to the same as the old one. The old appliance will need to an alternative IP Address to avoid network conflicts.`
LoginTC RADIUS Connector 3.X
Important: LoginTC RADIUS Connector 3.X End-of-life
The LoginTC RADIUS Connector 3.X virtual appliance is built with CentOS 7.9. CentOS 7.X is End of Lifetime (EOL) June 30th, 2024. Although the appliance will still function it will no longer receive updates and nor will it be officially supported.
Step 1: Upgrade to version 3.X+
- Download the latest LoginTC RADIUS Connector:
- Unzip the file
- Import the virtual appliance your computer virtualization software
- Ensure that the LoginTC RADIUS Connector has a virtual network card
- Start the virtual appliance
- You will be presented with a console dashboard:
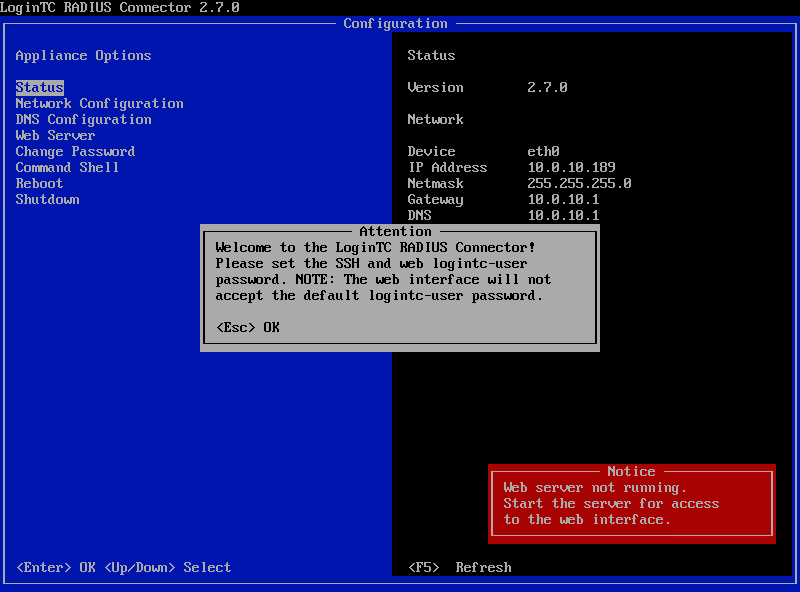
- The first thing you must do is set the
logintc-userpassword: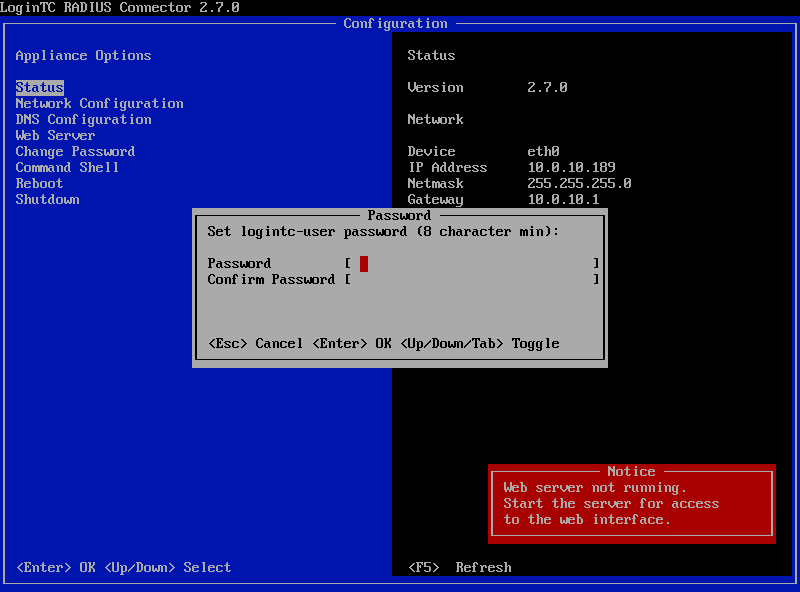
- By default the appliance network is configured by DHCP. If you wish to manually configure the network, use the Down arrow key to navigate to Network Configuration and DNS Configuration
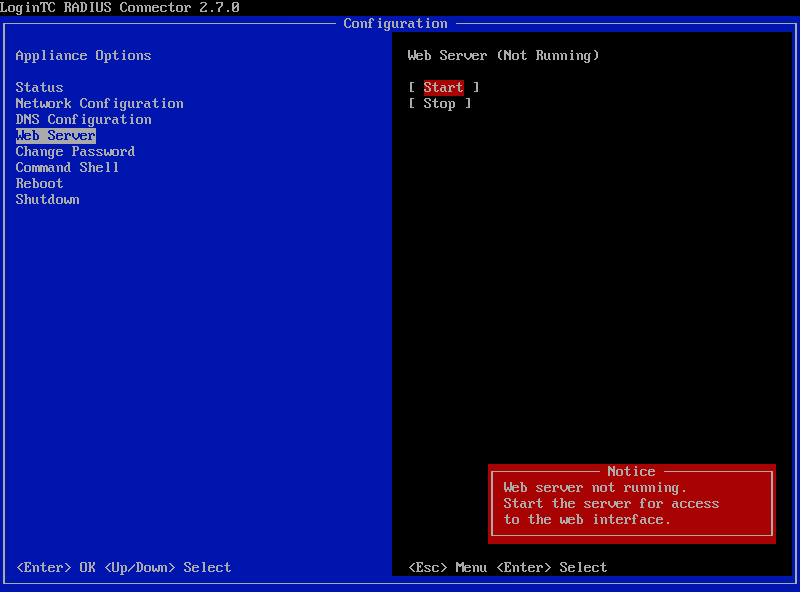
- For access to the web interface select Web Server and then Start:
 It may take 5-10 seconds to start the first time:
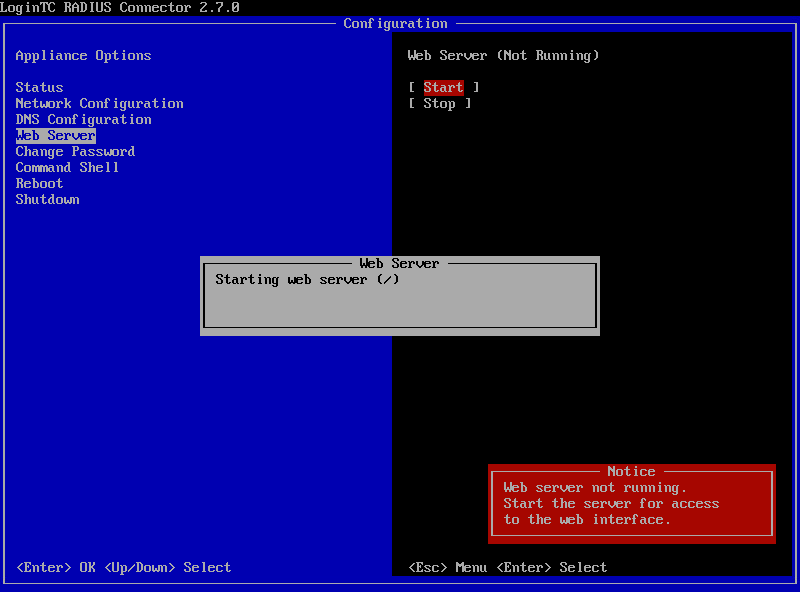
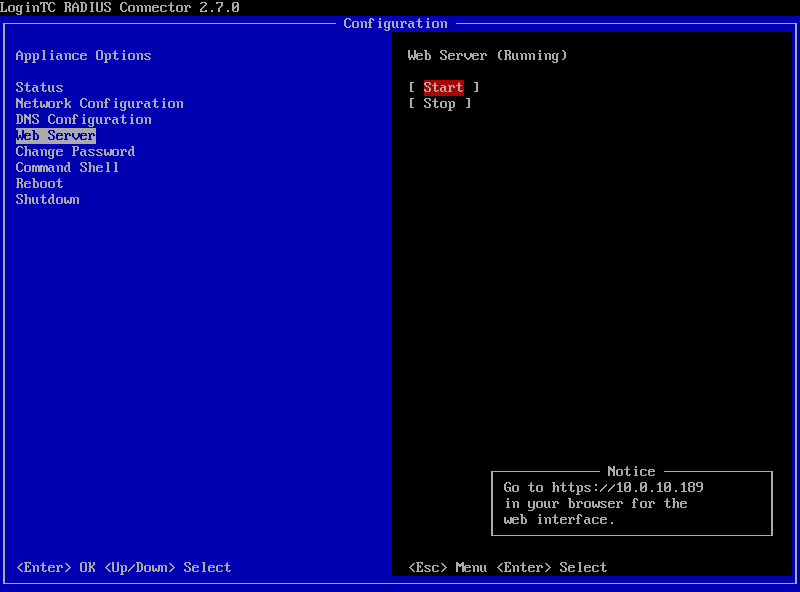
- Once started, access the web interface by navigating to the URL mentioned in the information box:
The LoginTC RADIUS Connector runs CentOS 7.7 with SELinux. A firewall runs with the following open ports:
| Port | Protocol | Purpose |
|---|---|---|
| 22 | TCP | SSH access |
| 1812 | UDP | RADIUS authentication |
| 1813 | UDP | RADIUS accounting |
| 8888 | TCP | Web interface |
| 443 | TCP | Web interface |
| 80 | TCP | Web interface |
| 80 | TCP | Package updates (outgoing) |
| 123 | UDP | NTP, Clock synchronization (outgoing) |
Note: Username and Password
logintc-user is used for SSH and web access. The default password is logintcradius. You will be asked to change the default password on first boot of the appliance and will not be able to access the web interface unless it is changed.
The logintc-user has sudo privileges.
Step 2: Run migration script
- SSH into the 3.X virtual appliance or open the console (use same username / password as web GUI)
cd /tmpcurl -O https://www.logintc.com/downloads/logintc-radius-connector-migrate-1.0.1.shsudo sh logintc-radius-connector-migrate-1.0.1.sh IP_ADDRESS_EXISTING_LOGINTC_RADIUS_CONNECTOR- Set
IP_ADDRESS_EXISTING_LOGINTC_RADIUS_CONNECTORto the IP Address of the LoginTC RADIUS Connector you will be migrating from.
- Set
- Review the notice to continue
- Ensure the correct IP Address was entered, then enter the password for the
logintc-useron the existing LoginTC RADIUS Connector
The migration script will restart services once it is complete (2-4 seconds).
Note: NTP Server settings are not migrated
NTP Server settings can be updated on the web based control panel under Settings > NTP Server.
Migration Script Download Verification
Execute: sha1sum /tmp/logintc-radius-connector-migrate-1.0.1.sh
Output SHA‑1 should match: a0ebbb5fa349af8cc8e9f66a337c5b1195626e1c
Step 3: Test Configuration on LoginTC RADIUS Connector
Close the console and navigate to your appliance web interface URL. Use username logintc-user and the password you set upon initial launch of the appliance. Select a Configuration and then Test Configuration. Ensure that it behaves as expected.
Step 4: Configure RADIUS Client to leverage new LoginTC RADIUS Connector
Now configure the RADIUS Client (i.e. VPN, Web Access Manager, Unix host etc…) to point to the new LoginTC RADIUS Connector. Please refer to the appropriate documentation: LoginTC Connectors. Test that the environment behaves as appropriate.
An alternative method would be to set the static IP Address of the new LoginTC RADIUS Connector to the same as the old one. The old appliance will need to an alternative IP Address to avoid network conflicts.`
LoginTC RADIUS Connector 2.X
Important: LoginTC RADIUS Connector 2.X End-of-life
The LoginTC RADIUS Connector 2.X virtual appliance is built with CentOS 6.8. CentOS 6.X is End of Lifetime (EOL) November 30th, 2020. See CentOS Product Specifications. Although the appliance will still function it will no longer receive updates and nor will it be officially supported.
Follow these instructions to upgrade your LoginTC RADIUS Connector 2.X virtual appliance to the latest 2.X version (2.7.1):
- SSH into the virtual appliance or open the console (use same username / password as web GUI)
cd /tmpcurl -O https://www.logintc.com/downloads/logintc-radius-connector-2.7.1-upgrade.shsudo sh logintc-radius-connector-2.7.1-upgrade.sh
The upgrade script will restart your appliance after upgrading.
Upgrade Script Download Verification
Execute: sha1sum /tmp/logintc-radius-connector-2.7.1-upgrade.sh
Output SHA‑1 should match: 158eed9fb93d9c63093298b01fa2e926ffd89d51
It is always recommended to take a VM snapshot prior to upgrading.
TroubleshootingNeed help? Please see our Help Page, Knowledge Base or contact us directly at support@cyphercor.com.