Admin Panel
OverviewThe LoginTC Admin Panel is a cloud-based control panel for LoginTC administrators. The control panel allows management of one or more LoginTC organizations. Perform common tasks like user provisioning, second factor credential maangement, policies and application access. Access by navigating to LoginTC Admin Panel.
Accessing the LoginTC Admin PanelLogging In
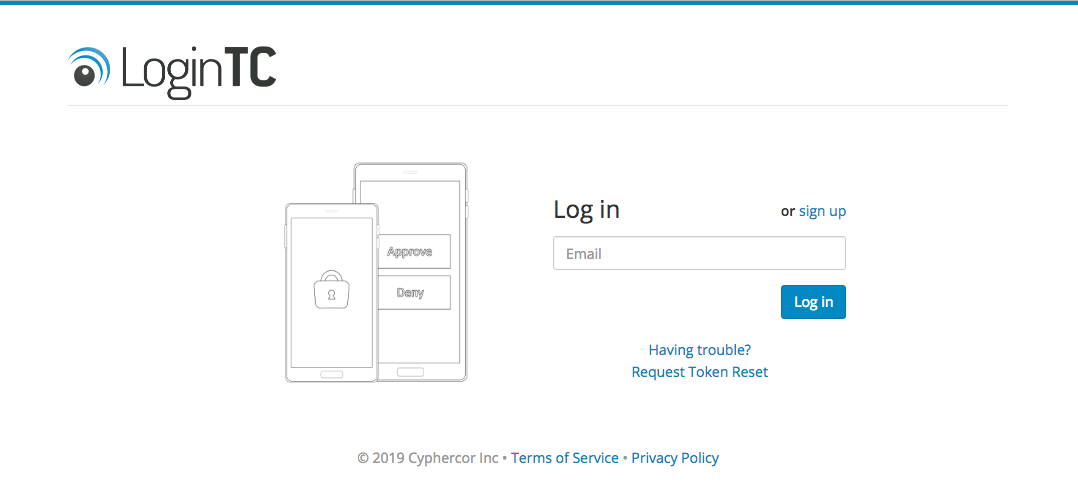
Access the LoginTC Admin Panel by navigating to https://cloud.logintc.com/panel/login. Enter your administrator email address and click Log in.
A notification will be sent to the device in which your LoginTC Admin Token is provisioned.
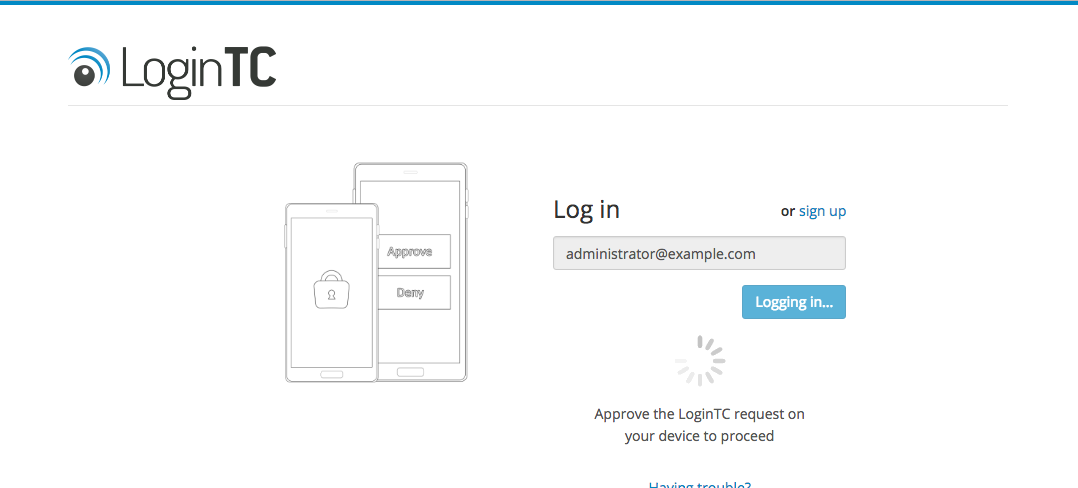
If you do not receive a request, simply launch the LoginTC app and click the refresh icon.
NOTE
The LoginTC Admin Panel administrator token is separate from a user token and is provisioned when signing up.
Administrator Token Reset
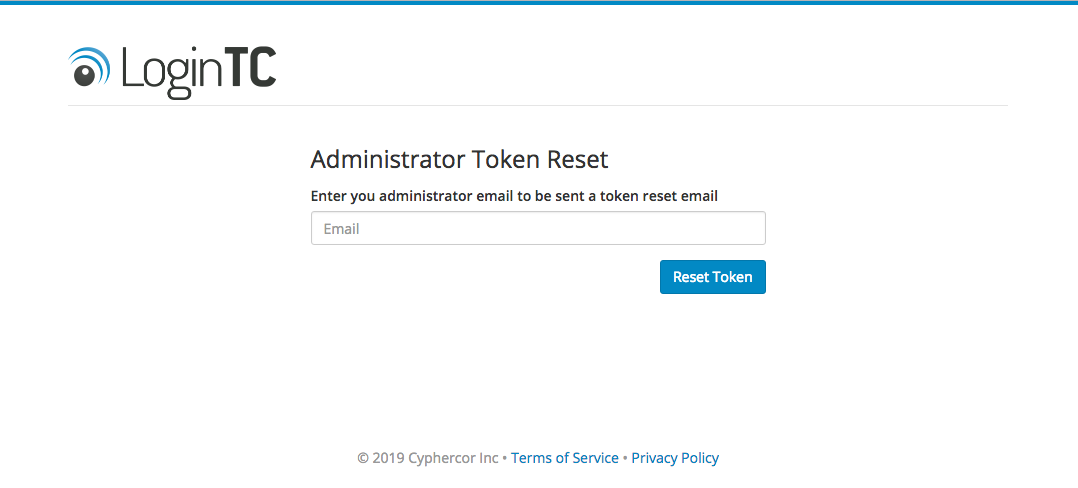
If you changed or lost the device hosting your LoginTC Admin Panel administrator token you can request a reset by clicking Request Token Reset or navigating to https://cloud.logintc.com/panel/reset. Enter the administrator email and click Reset Token.
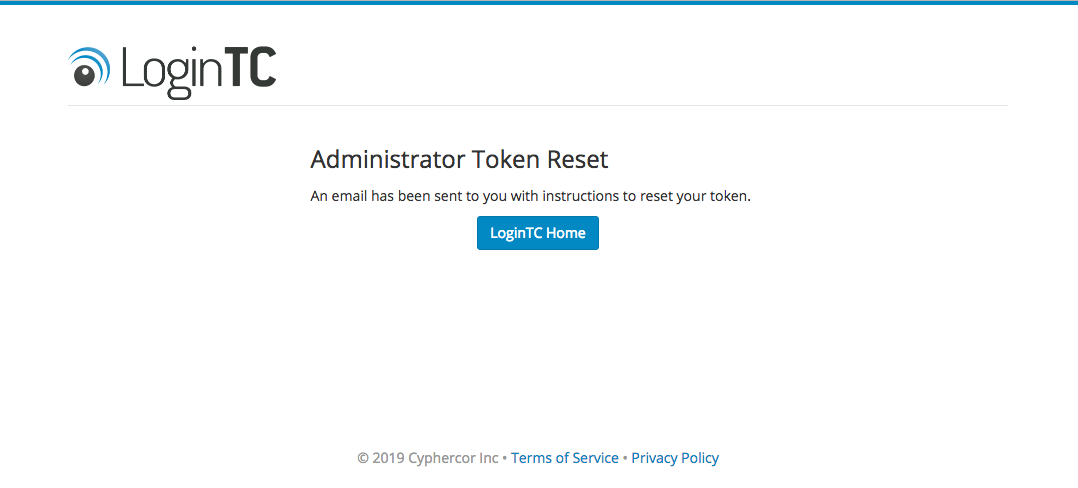
Check your email for a link and instructions on loading a new LoginTC Admin Panel administrator token.
Need more help?
For more help please see our knowledge base article: Cannot login into the Admin Panel.
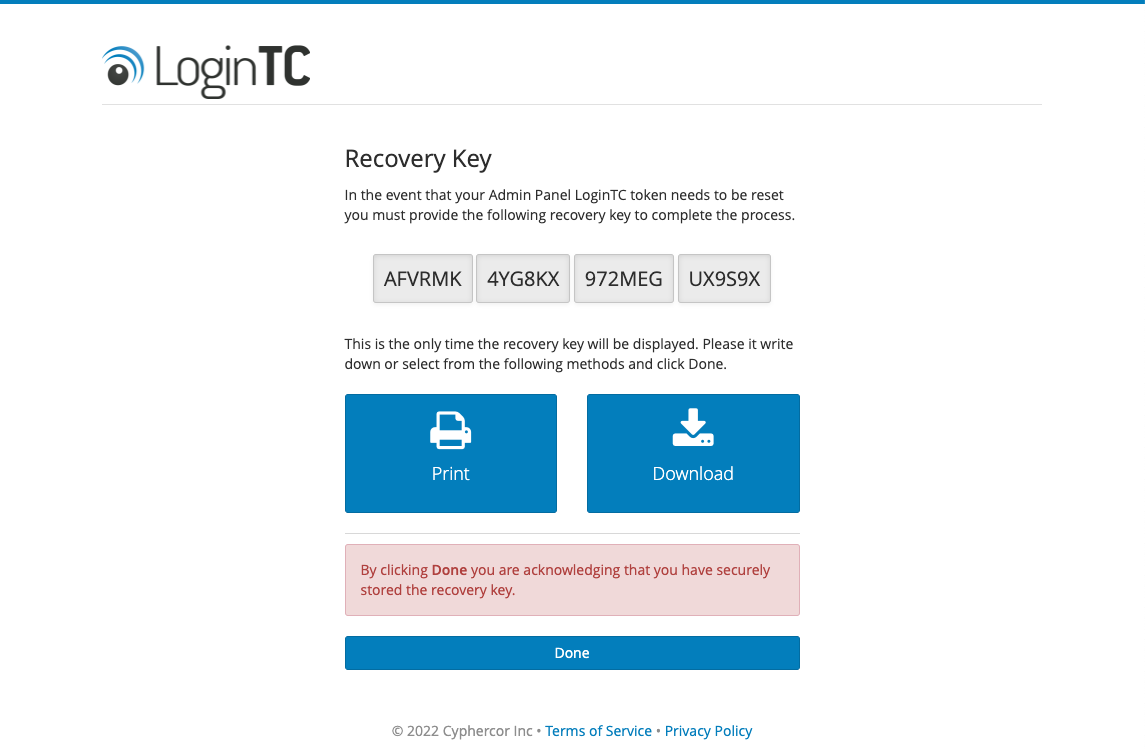
Recovery Key
The Recovery Key is presented to you the first time you log in with a new LoginTC Admin Panel administrator token. It can be printed or download as a file (logintc-recovery-key.txt). A newly presented Recovery Key will override any previous ones.
Organization API Key
The 64-character Organization API Key is found on the LoginTC Admin Panel under Settings > API > Click to view.
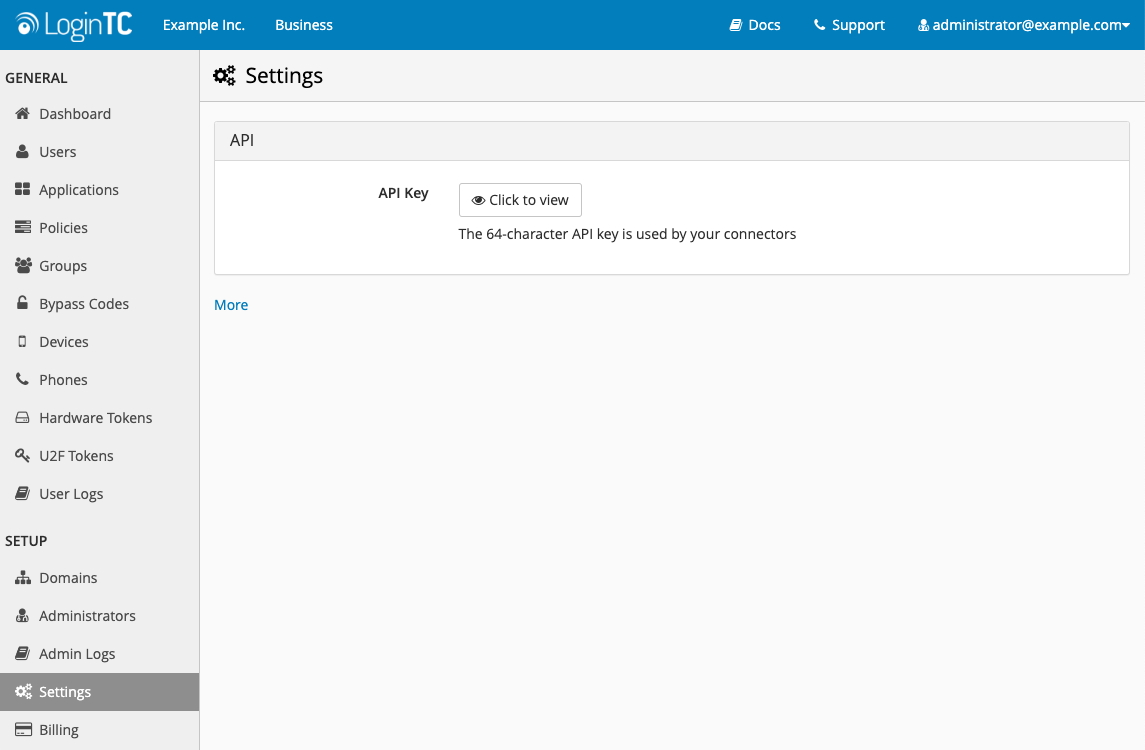
NOTE
It is very important not to share the Organization API Key with anyone outside of your LoginTC administrators.
Admin Panel Token Reset
A Super Administrator in your organization can initiate a token reset which does not request a Recovery Key.
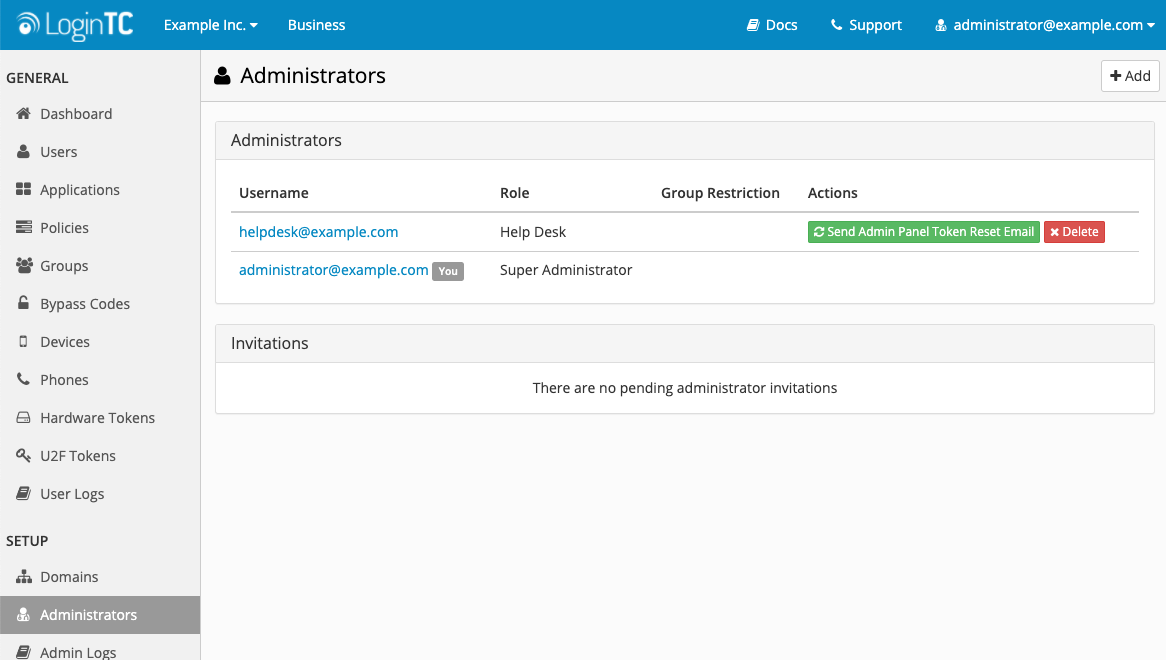
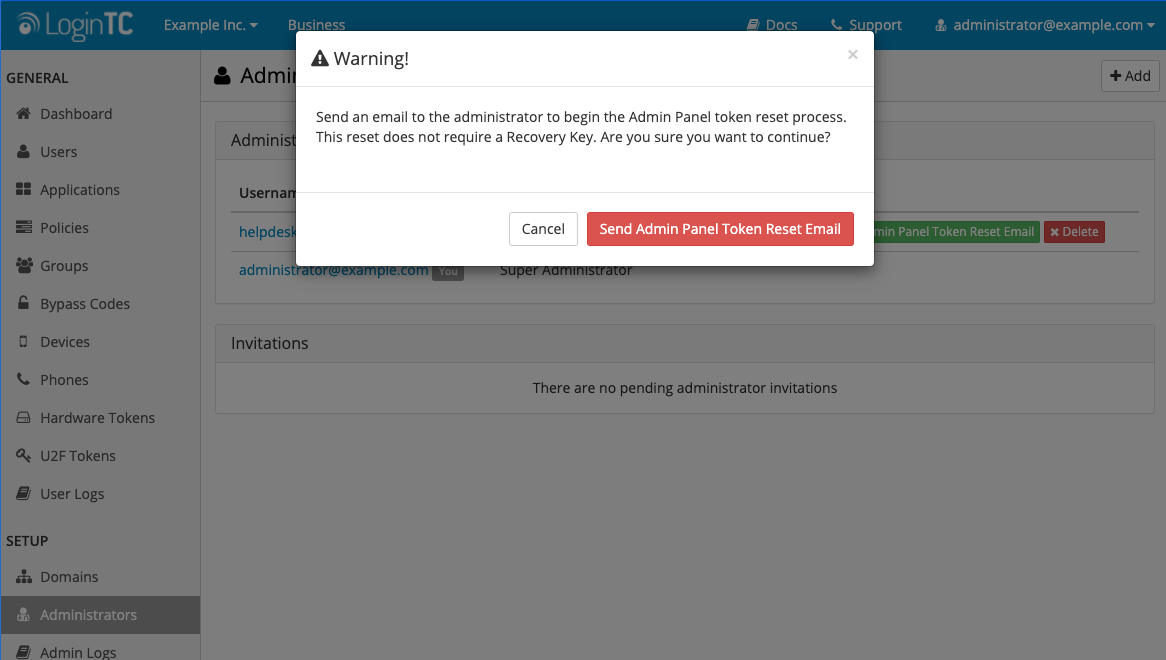
An email with subject Administrator Initiated Token Reset Request will be sent. Click Reset Token to being the process.
User InterfaceDashboard
The LoginTC Admin Panel dashboard displays a top level view of your LoginTC organization.
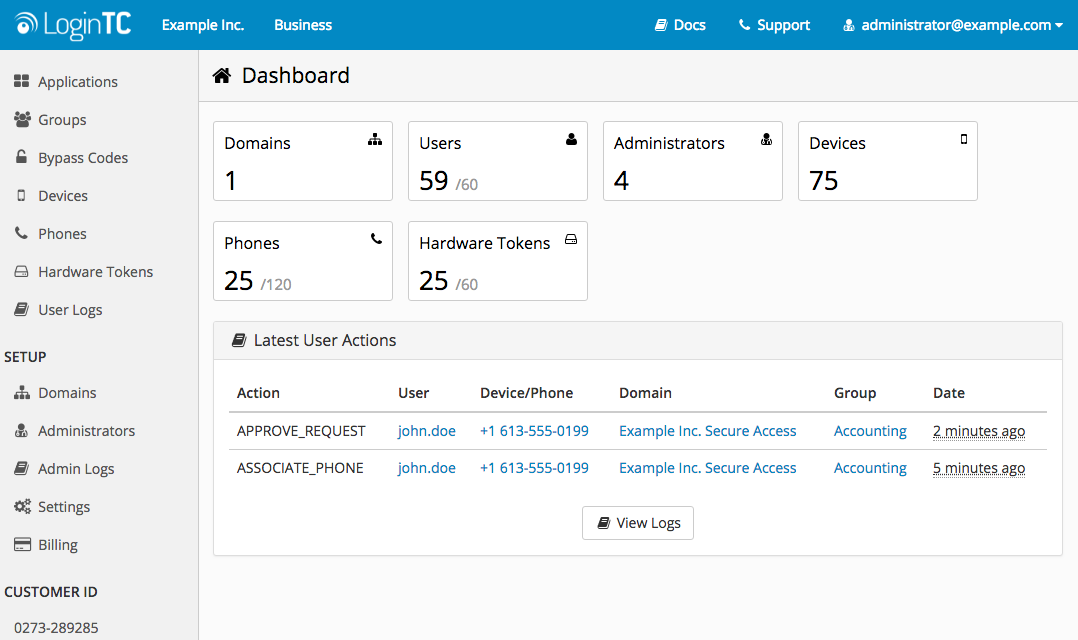
Drill down into a specific section by clicking the relevant box or item in the left-hand navigation menu. The last 20 user related actions are also displayed below for convenience.
Link within a User Action can be clicked to access that particular object. For example clicking on a username will navigate to that users page. If the text is not a link it means that particular object no longer exists, for example a deleted user. The log is kept for record keeping.
Occasionally announcements will show up on the Dashboard in the form of an interstitial window. This is typically done to announce new features and functionality.
Navigation
Use the left hand menu to navigate between objects in your LoginTC organization. The available menu will change depending on your Administrator Role.
- Dashboard: Display snapshot of organization activity and quick navigation buttons.
- Users: Create, view, update and delete users. See User Management.
- Applications: Create, view and update Applications in your organization. See Applications Guide .
- Policies: Apply access policies to the entire Organization, for specific Applications or groups of users . See Policies Guide.
- Groups: Create, view and update groups.
- Bypass Codes: View and search bypass codes for your users. See Bypass Codes Guide.
- Devices: View and search devices where users have installed the LoginTC app.
- Phones: Create, view and update phones capable of receiving SMS.
- Hardware Tokens: Create and view hardware tokens. See Hardware Token Guide.
- Authentication Logs: View and search user authentication events. See Authentication Logs Guide.
- User Logs: View and search user generated events.
- Domains: Create, view and update Domains in your organization.
- Administrators: Create and view administrator in your organization. See Administrator Roles
- Admin Logs: View and search administrator generated events. See Admin Logs Guide.
- Settings: Update settings that affect your entire LoginTC organization.
- Billing: Update billing and LoginTC subscription.
Your Customer ID appears at the bottom of the left hand menu. Use your Customer ID when opening tickets with LoginTC support or communicating with the sales team.
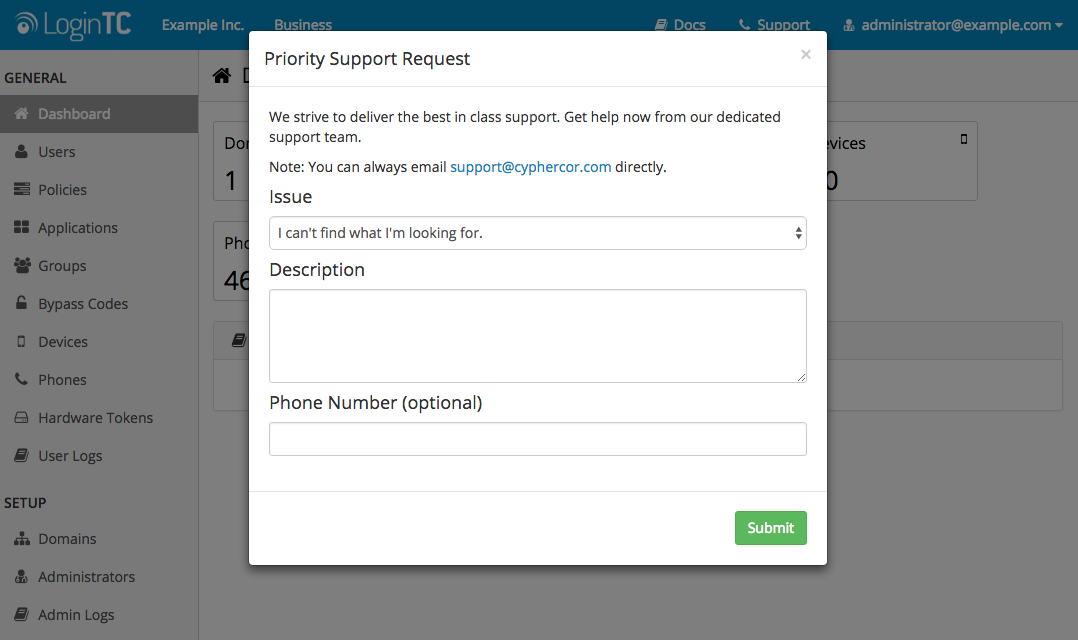
Support requests can also be opened directly from the LoginTC Admin Panel by clicking the Support button in the top bar. This feature is available for Professional, Business and Enterprise subscription customers.
Need help? Please see our Help Page, Knowledge Base or contact us directly at support@cyphercor.com.